Teaching online shouldn’t feel like wrestling with software, yet that’s what many WordPress LMS plugins make you do. It’s often not entirely their fault, though. After all, transforming WordPress into a full-featured LMS is a significant challenge, and it’s difficult to keep things intuitive while making a lot of functionality possible.

I’ve tested several LMS solutions for WordPress. Some are slow, some are confusing, and most are both. Masteriyo stood out to me for two reasons. First, it promises to avoid all those issues. There’s no clutter, no delays – just a straightforward way to build and sell courses without the usual hiccups.
Second, our parent company, Themeisle, recently acquired Masteriyo. So, I decided it was about time to give it a proper look!
This review reflects what it’s like to use Masteriyo right now (in 2025). I’ll walk you through what works, what doesn’t, and what sets this plugin apart.
What is Masteriyo?
Masteriyo is a learning management system (LMS) designed for WordPress. In essence, it turns your standard WordPress installation into a fully functional LMS platform.

Under the hood, it’s a plugin you install like any other, and from there, you can begin creating online courses and enrolling students.
You can do all of this for free (as long as you don’t need the advanced features), and there are no limits on how many courses you can create or how many users you can enroll – yes, unlimited courses and unlimited users!
Key features of Masteriyo
Easy course builder

The first way in which Masteriyo aims to make things easy is by delivering a drag-and-drop course builder that cuts out the usual back-and-forth.
You can view your entire course – all the sections, lessons, and quizzes – on a single screen, so you don’t have to toggle between menus or constantly save and preview changes.
It honestly feels more like building a playlist than managing a piece of content built in WordPress.
A single-page approach
Course creation occurs without page reloads, as everything updates instantly within the same view.
This isn’t just faster, but also means there are fewer chances to lose work or get lost in menus and forget to save your progress along the way.
Distraction-free learning
The student interface focuses on essentials, removing sidebars, popups, and WordPress clutter. Only the lesson content and basic navigation are visible. This approach seems obvious once you experience it, yet many other LMS plugins fall short here.
Setup wizard
The plugin sets itself up in under a minute. It adds the core pages, connects to your theme, and gives you a working course platform with no manual setup. For people who just want to get moving, this is a huge time-saver.
Of course, there’s a ton of settings available, but you’re not being forced to explore them all right from the get-go.
Advanced quizzing module
You can create elaborate quizzes in your courses, offering more than just simple yes-or-no questions, with many options available in the pro version.
For example, you can create “matching questions” – pairing items on side A with those on side B, “sorting questions” – organizing items in the correct order, and “audio/video questions” – answering based on content from a video.
Each quiz has settings like the target score required to pass, the number of attempts allowed, and more. You can also track quiz completions made by your students.
Multiple payment options
This is critical if you’re offering paid courses.
Masteriyo features a built-in checkout and payment system, supporting Stripe and PayPal out of the box. That’s one less plugin to install, update, and troubleshoot if you’re aiming for a minimal setup.
If you already use WooCommerce or another shopping cart, though, Masteriyo is compatible with those as well.
Add-ons library
A wide variety of add-ons are available to expand your online learning platform and integrate it with third-party tools. This includes email marketing solutions, CRM tools, page builders, Zapier, HubSpot, and more.

Getting started with Masteriyo
Masteriyo is a WordPress plugin, and installing it is quite straightforward. You know the routine: go to Plugins → Add New, type “Masteriyo” into the box, and you’re set.
Once that’s done, you’ll see the first onboarding screen:
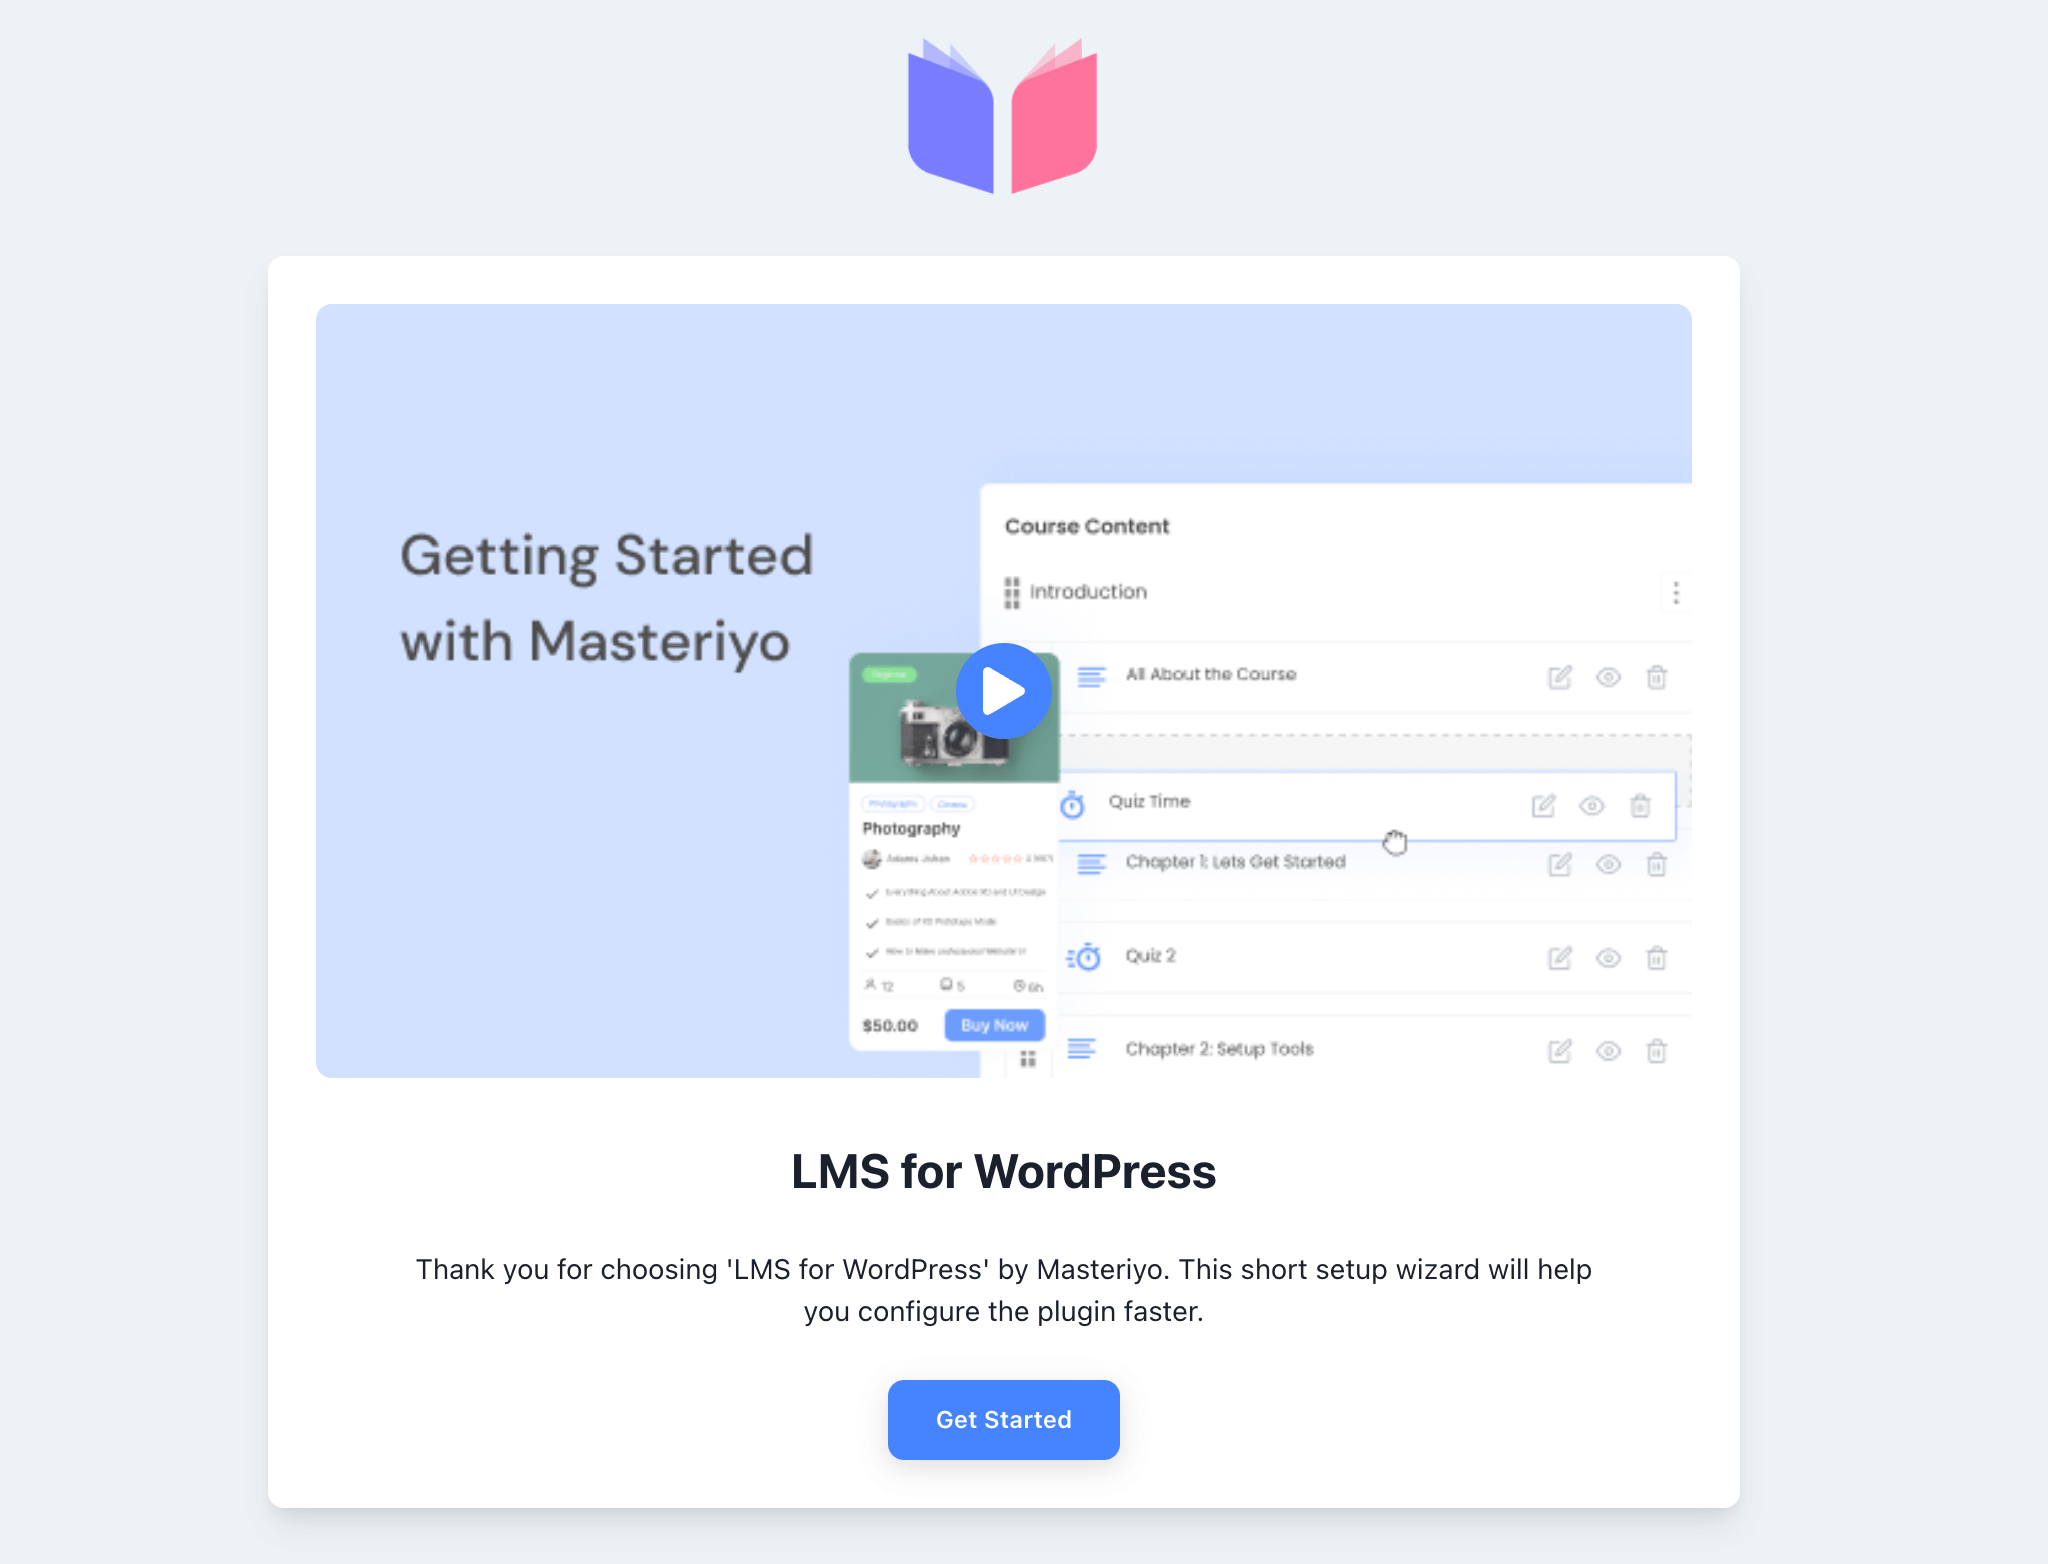
There’s a helpful intro video on that screen. I recommend checking it out. It’s only three minutes long and guides you through the main advantages of the plugin.
After watching the video, click on the Get Started button.
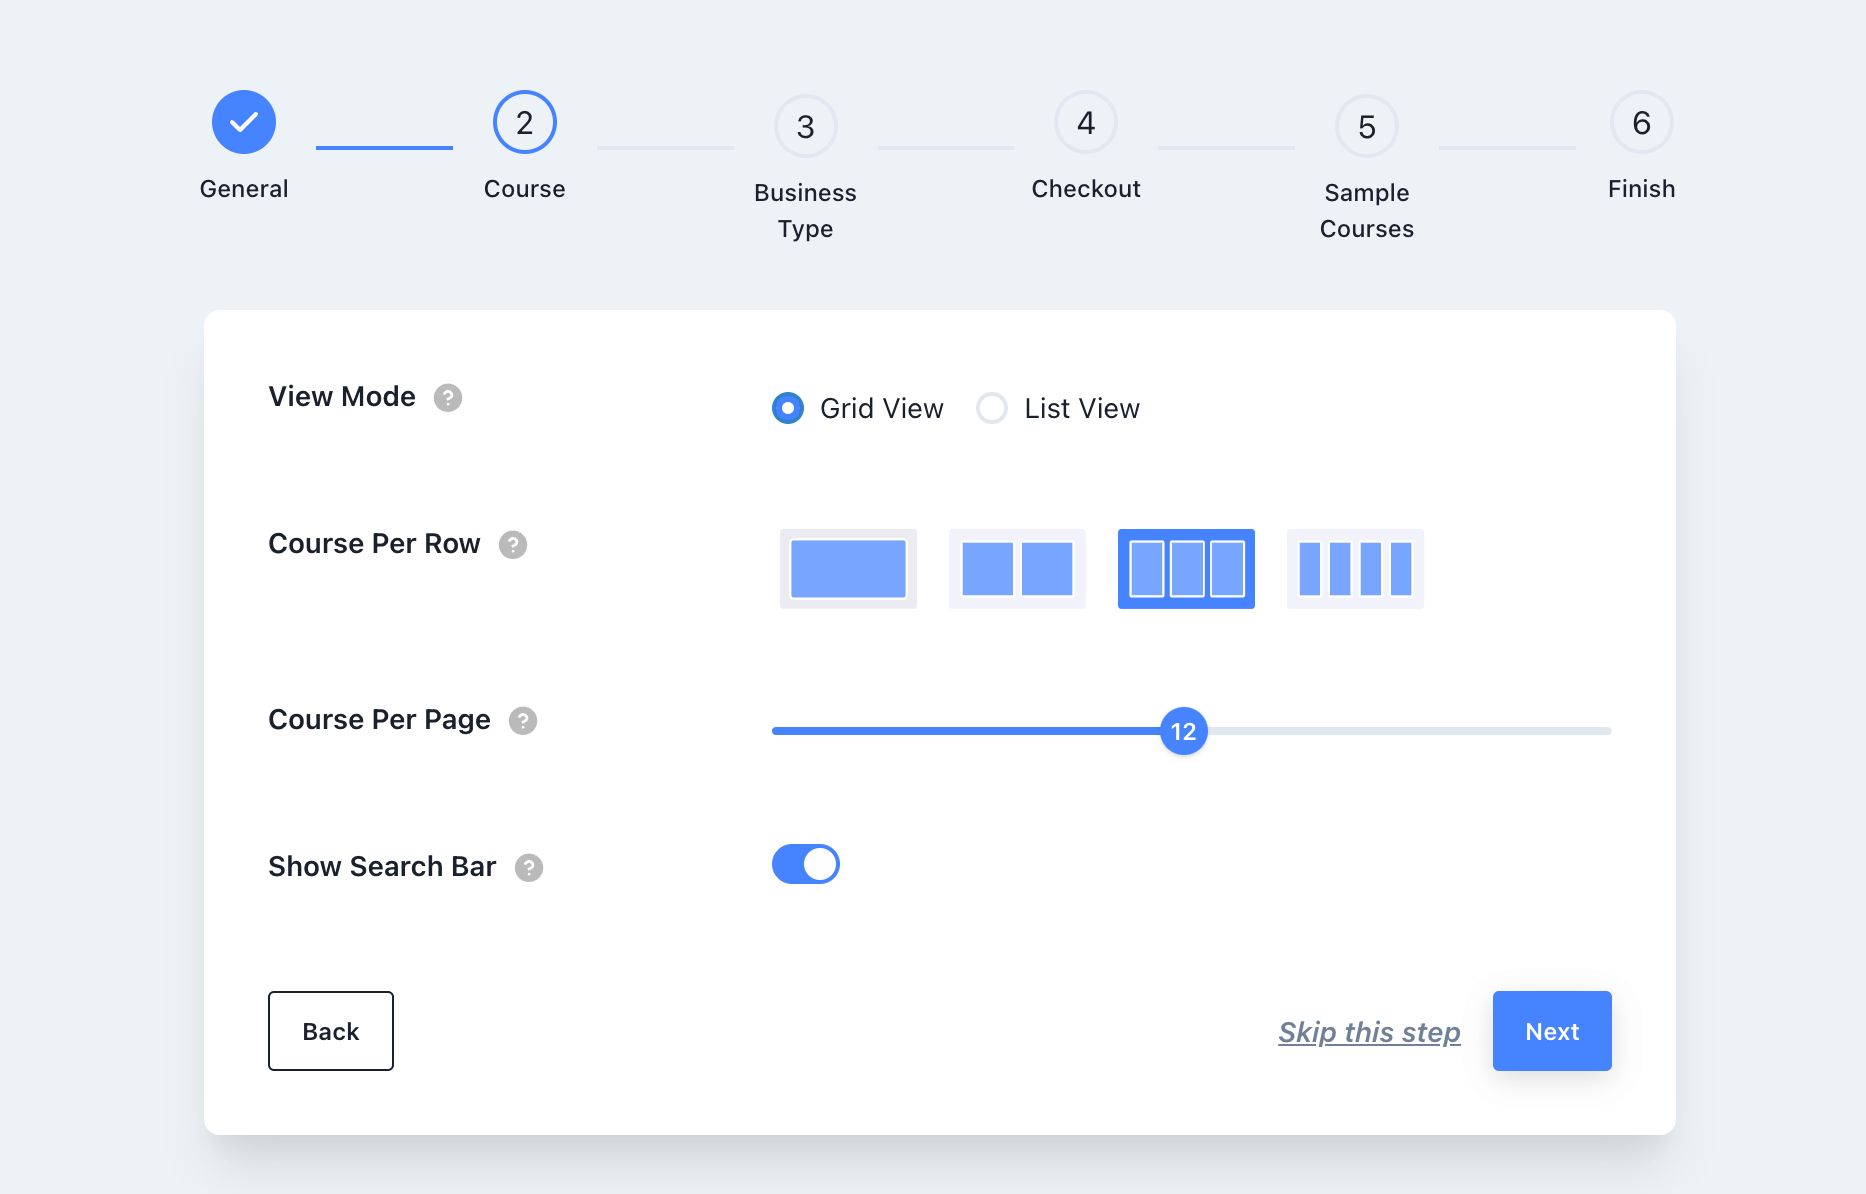
The next screen is intriguing because it demonstrates how versatile this tool can be, tailored to your specific needs. Here’s what I mean; this is the screen:

Here, you can adjust how your courses will be displayed on the page. For instance, if you’re going to be offering a single course, setting the view mode to grid with “one course per row” is likely the best choice. However, if you have a portfolio of multiple courses, Masteriyo provides grid views with multiple courses per row or even list views that can display many courses on a single page.
The design ensures that the tool can grow with its creator. 👍
Moving on to the next step:
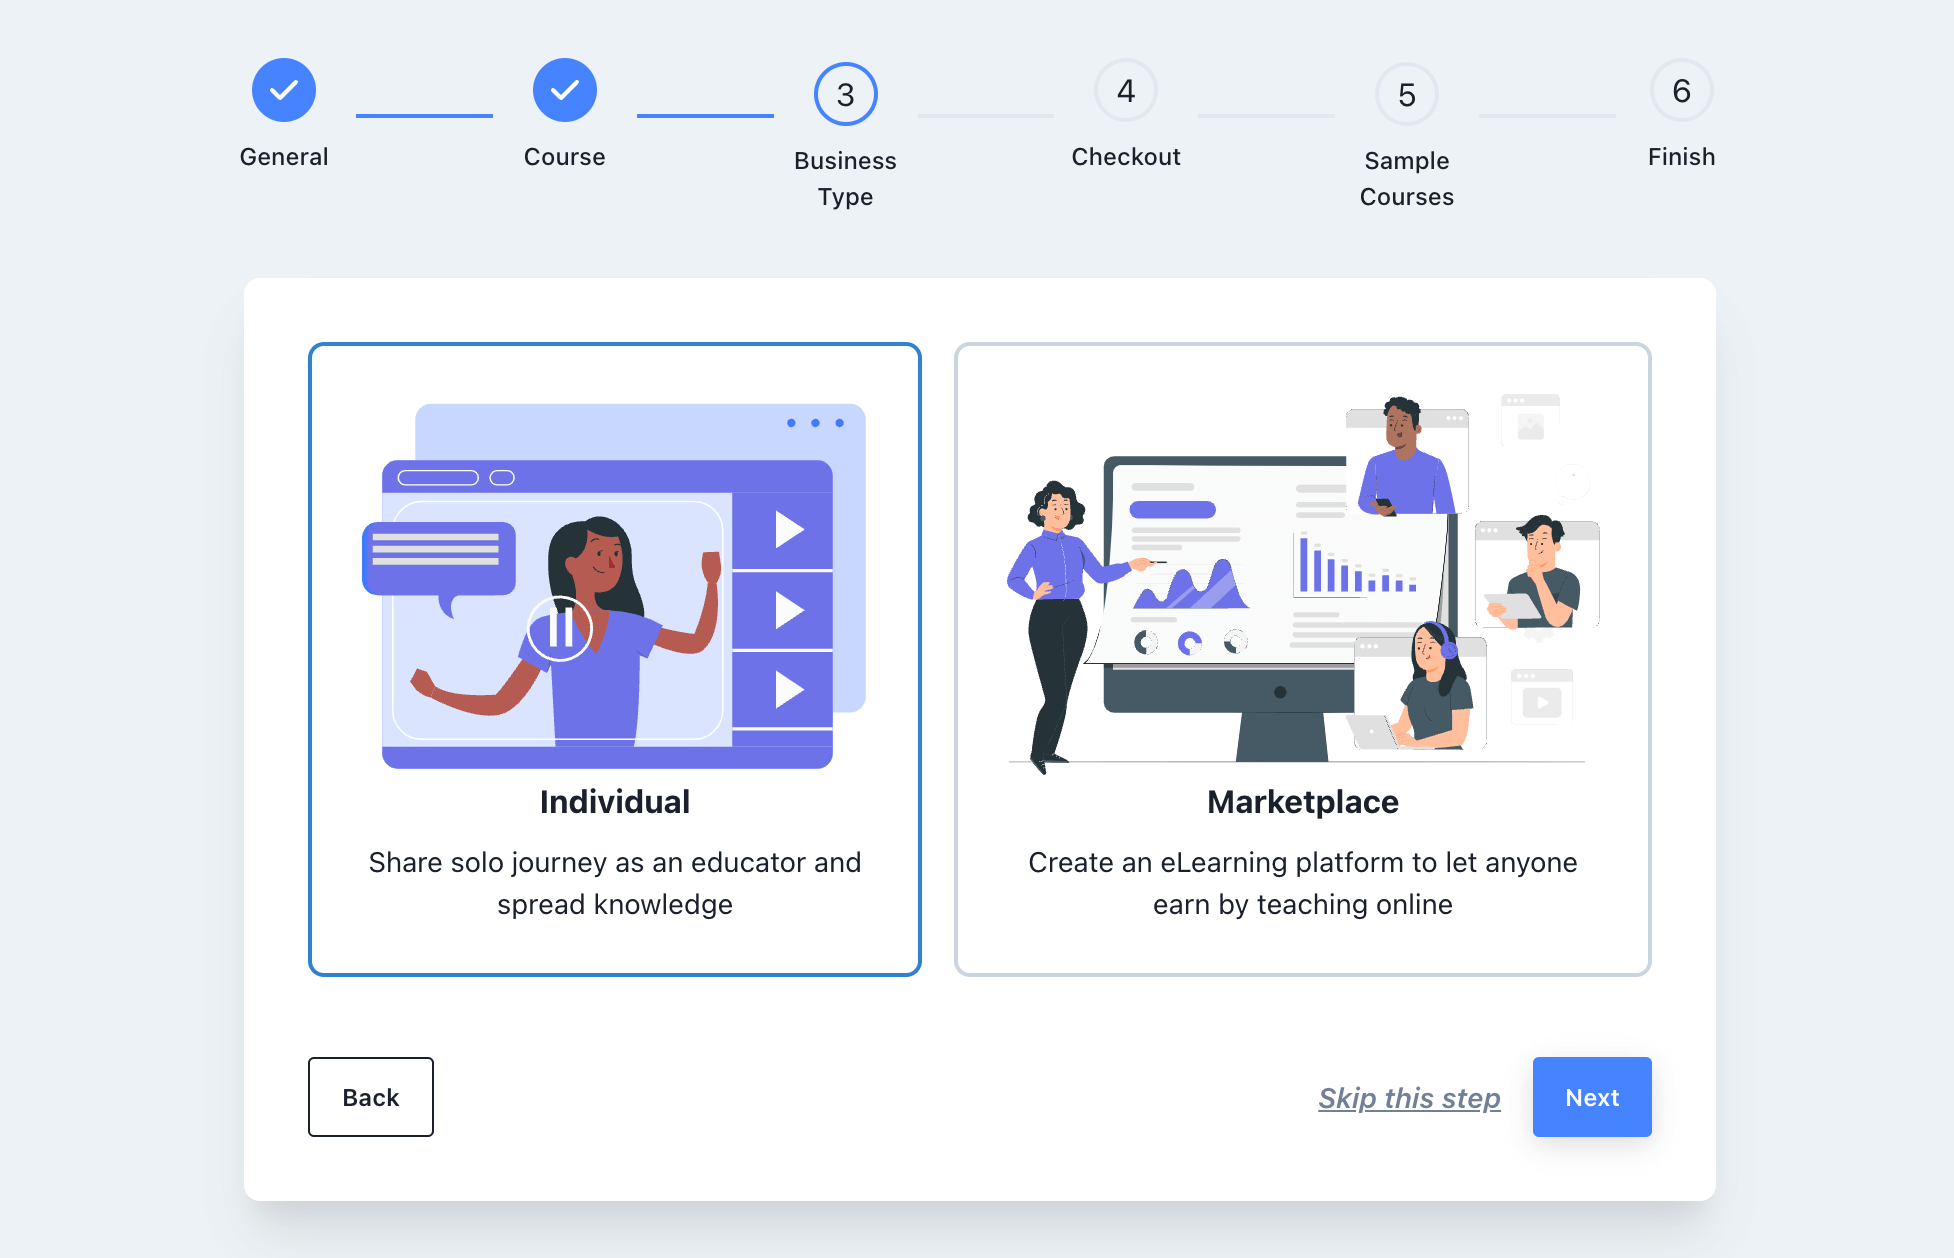
Here, you can decide if you’ll use your elearning platform independently or set up a marketplace. Again, a great feature for scalability.
Following this, there’s a screen for currency settings and another where you can install sample courses. I strongly recommend installing them, as it’s generally easier to understand a new elearning platform when you have other courses in the catalog to model yours after.
Once the initial setup is complete, you’ll be able to return to your dashboard and start building your first course!
Creating courses
There are two approaches to setting up your course: either start building your course immediately and adjust the wide plugin settings later, or configure the settings first and then focus on the course.
I mention this because Masteriyo offers a lot of features. In most cases, you won’t need all of them at the start, especially if you’re new to this and planning to launch your first online course with this tool.
So, it might be smarter to first explore the settings and familiarize yourself with what’s available. By enabling or disabling a few key features, you can get a sense of the tool’s capabilities. Then, as you work on your course, you’ll have everything at least partly configured to your specific needs instead of having everything enabled from the start.
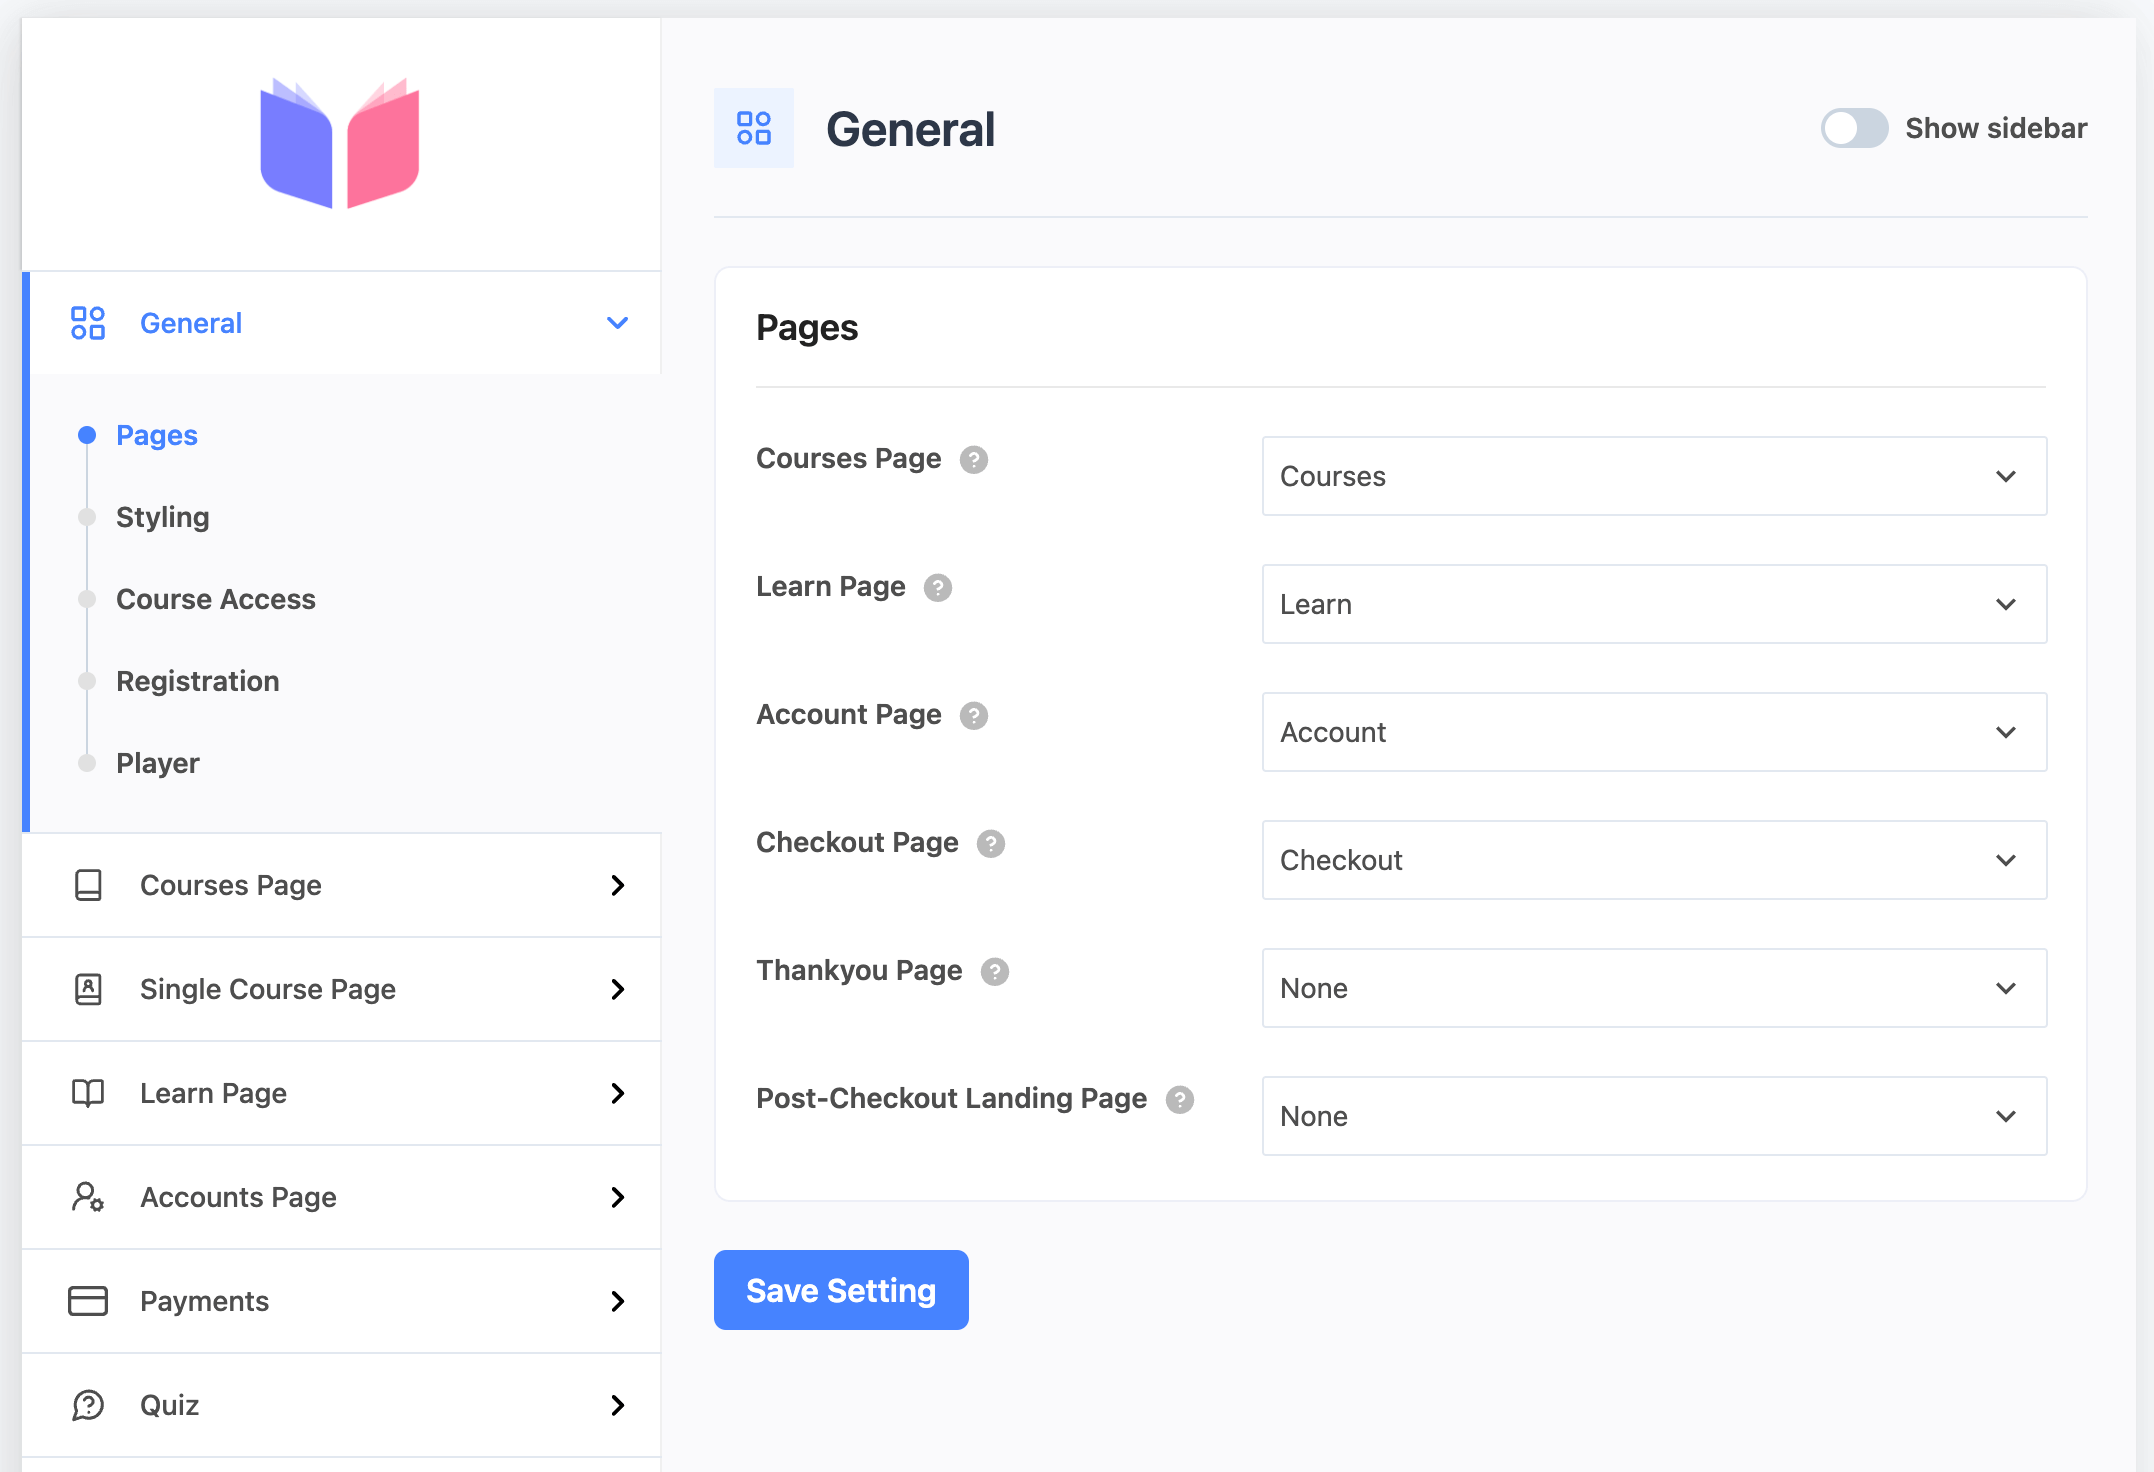
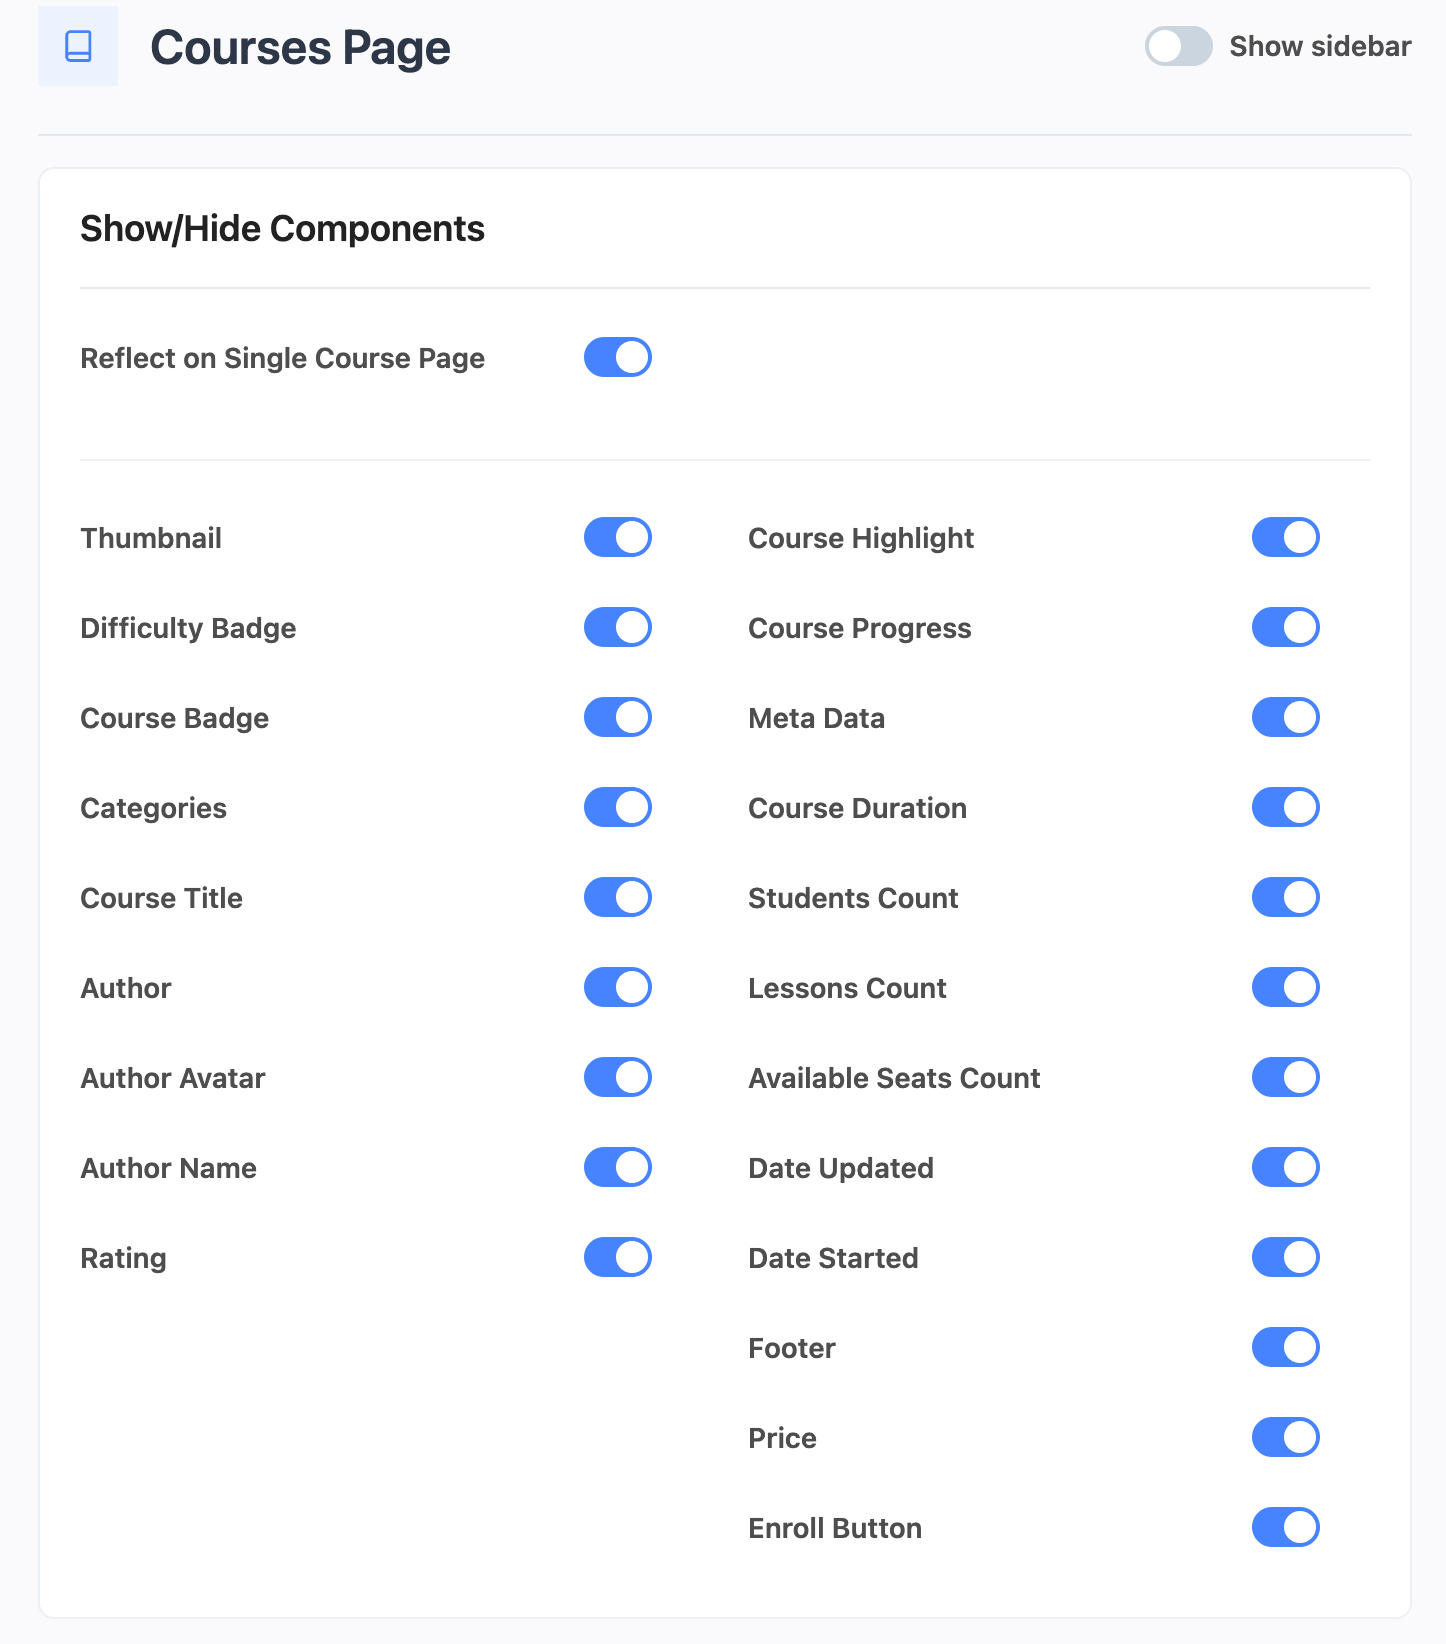
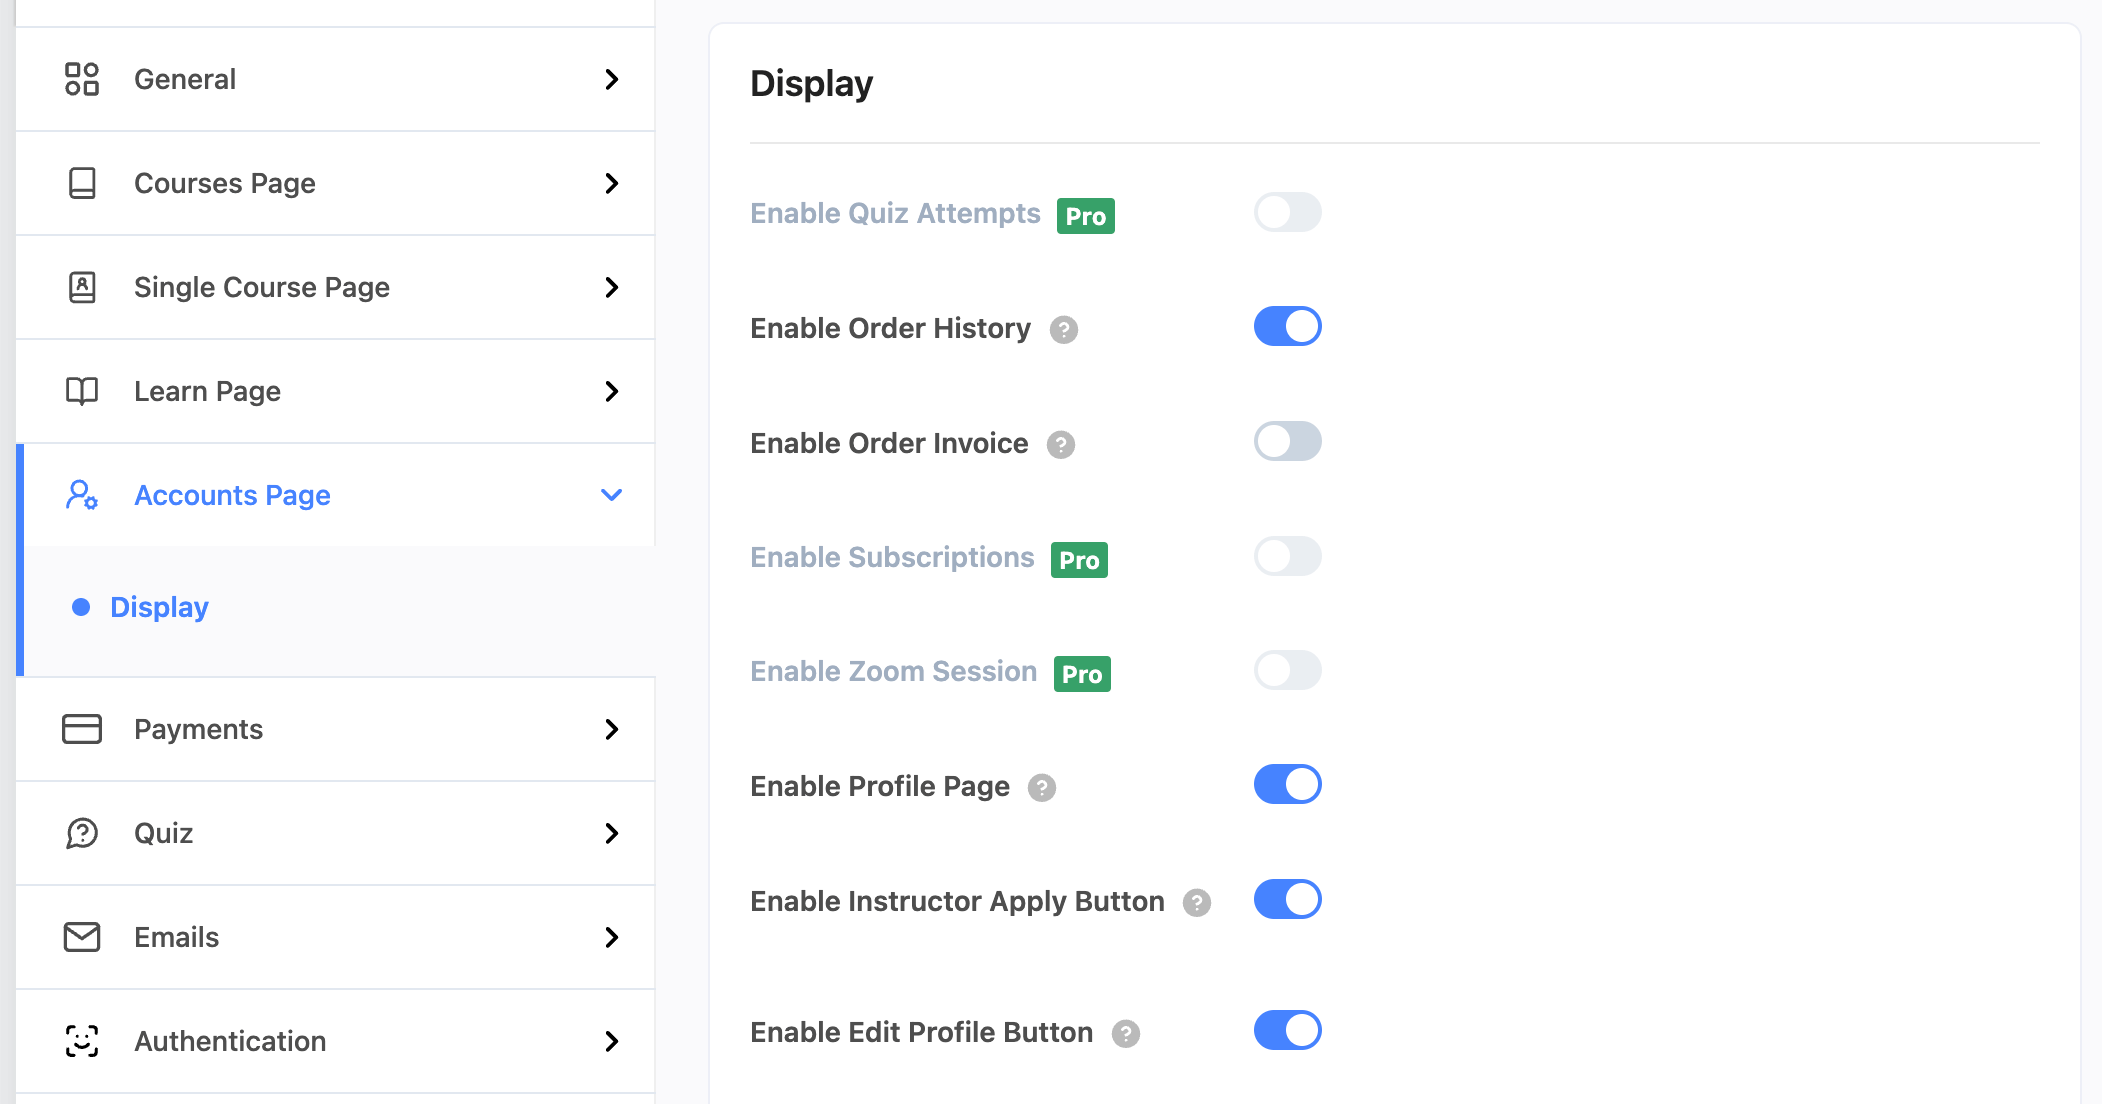
The settings page is quite comprehensive. Let me show you a couple of panels:
Thoughtfully, each option in the panel has a “?” tooltip next to it so you can get a quick explanation of its function:

Once you’re ready, you can go into courses and start setting up your first one. I think I have the perfect course idea in mind:
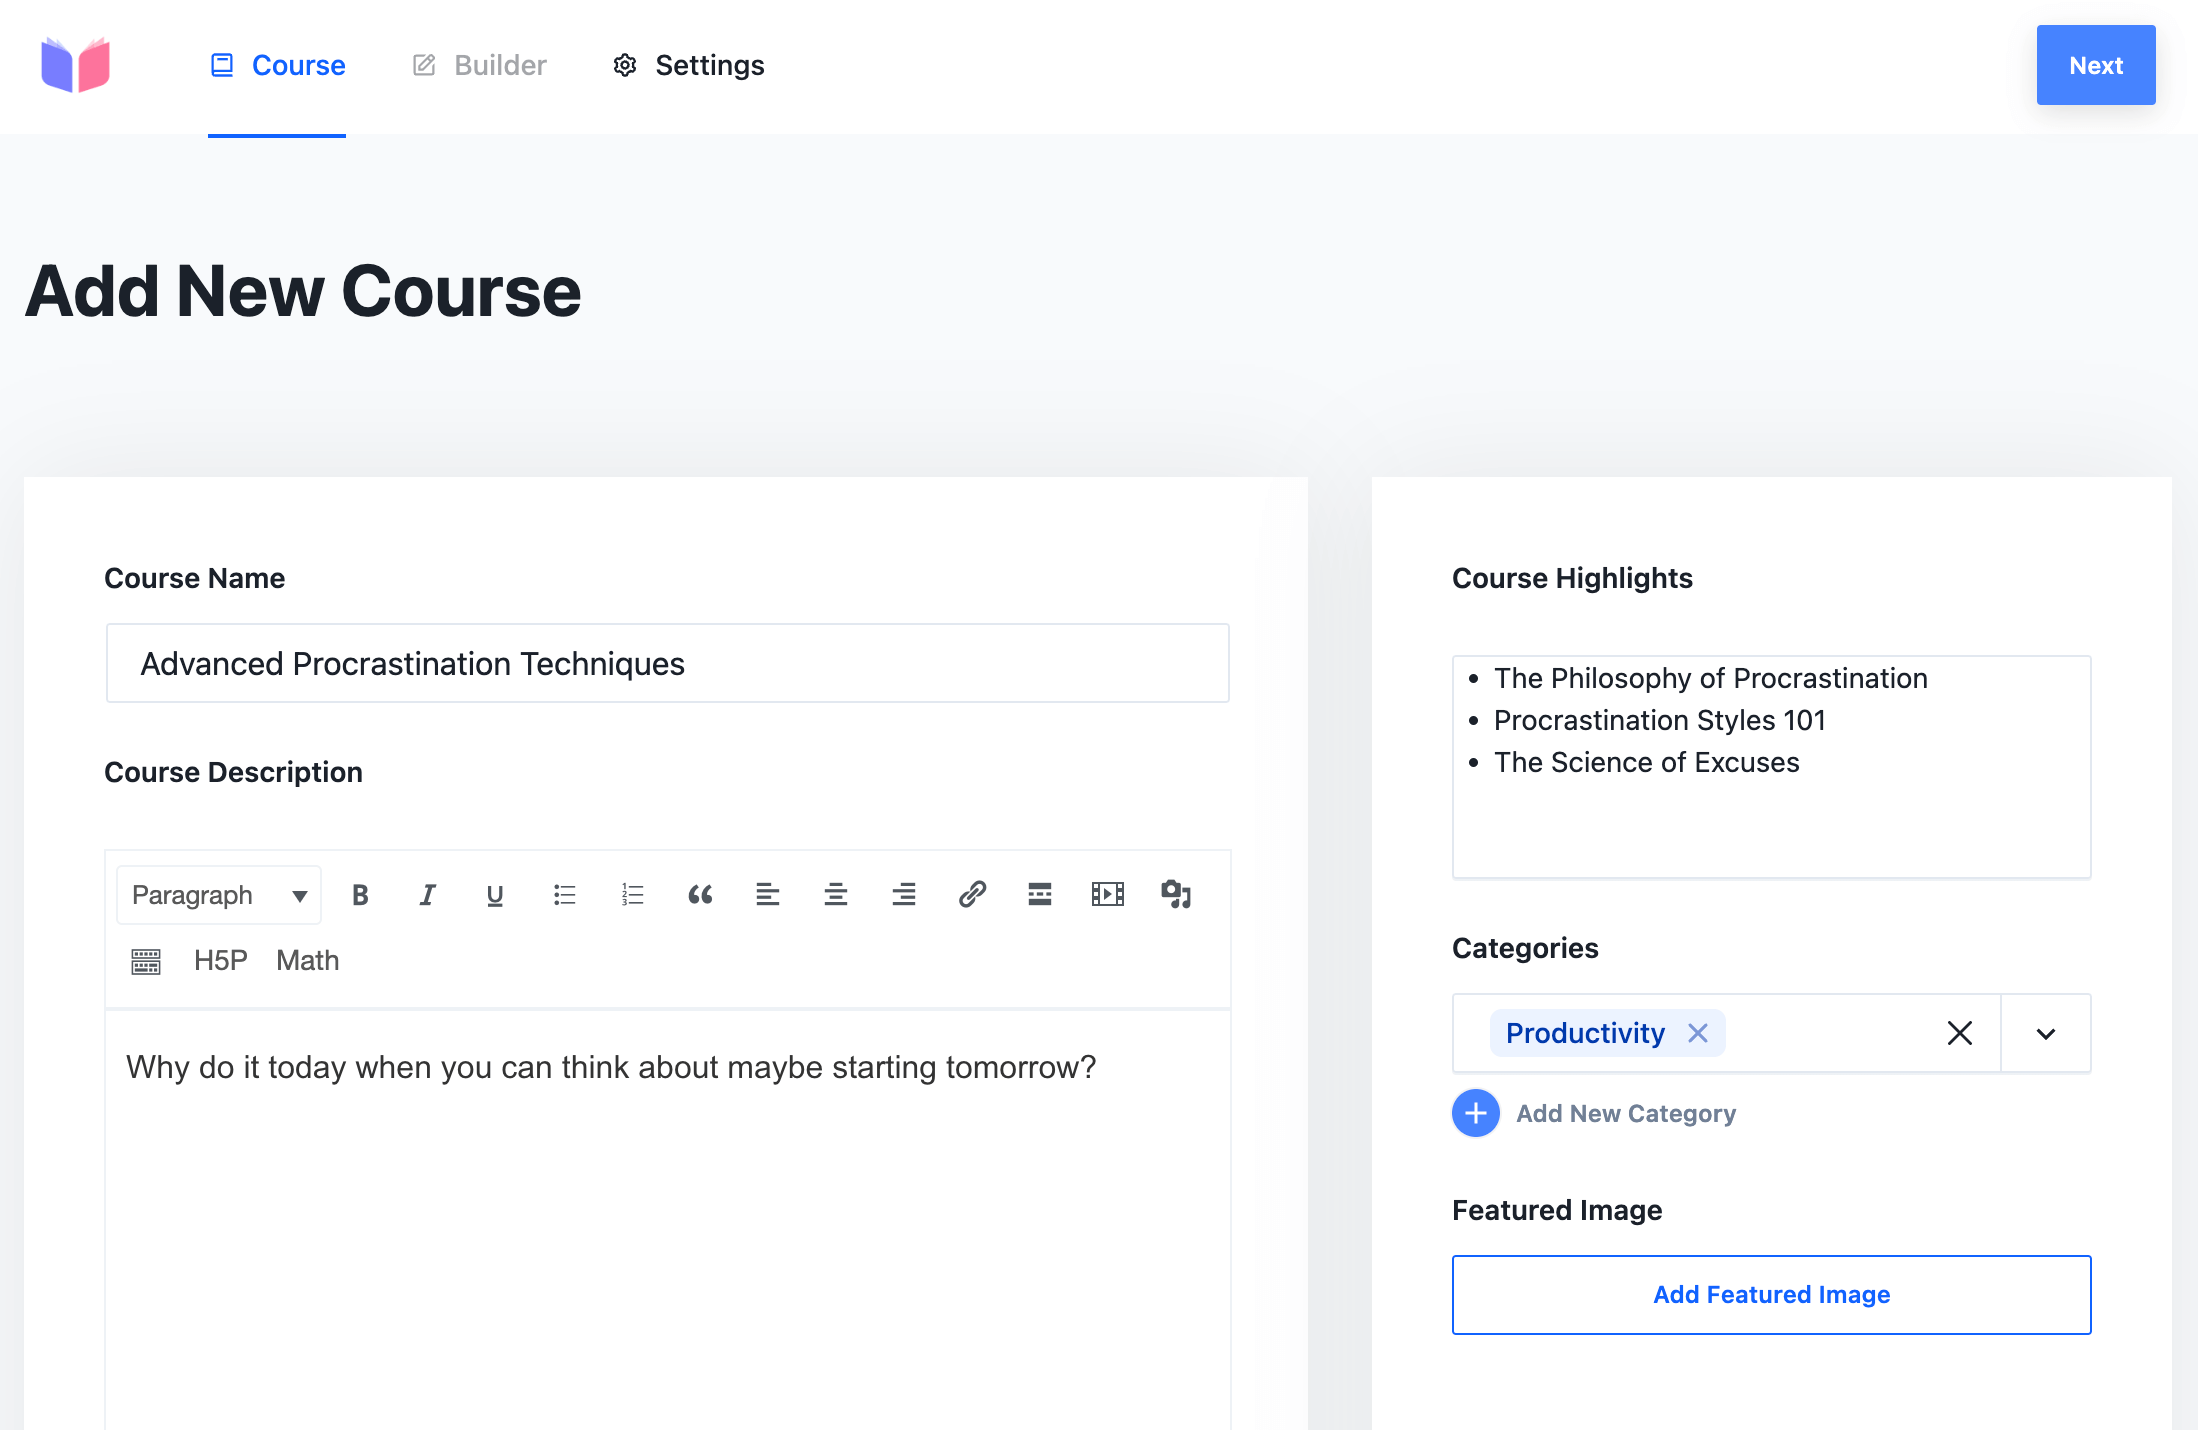
That screen is straightforward, with all the key details about the course clearly outlined.
The next screen is where the real fun begins. This is where you get to work with the course builder in Masteriyo.
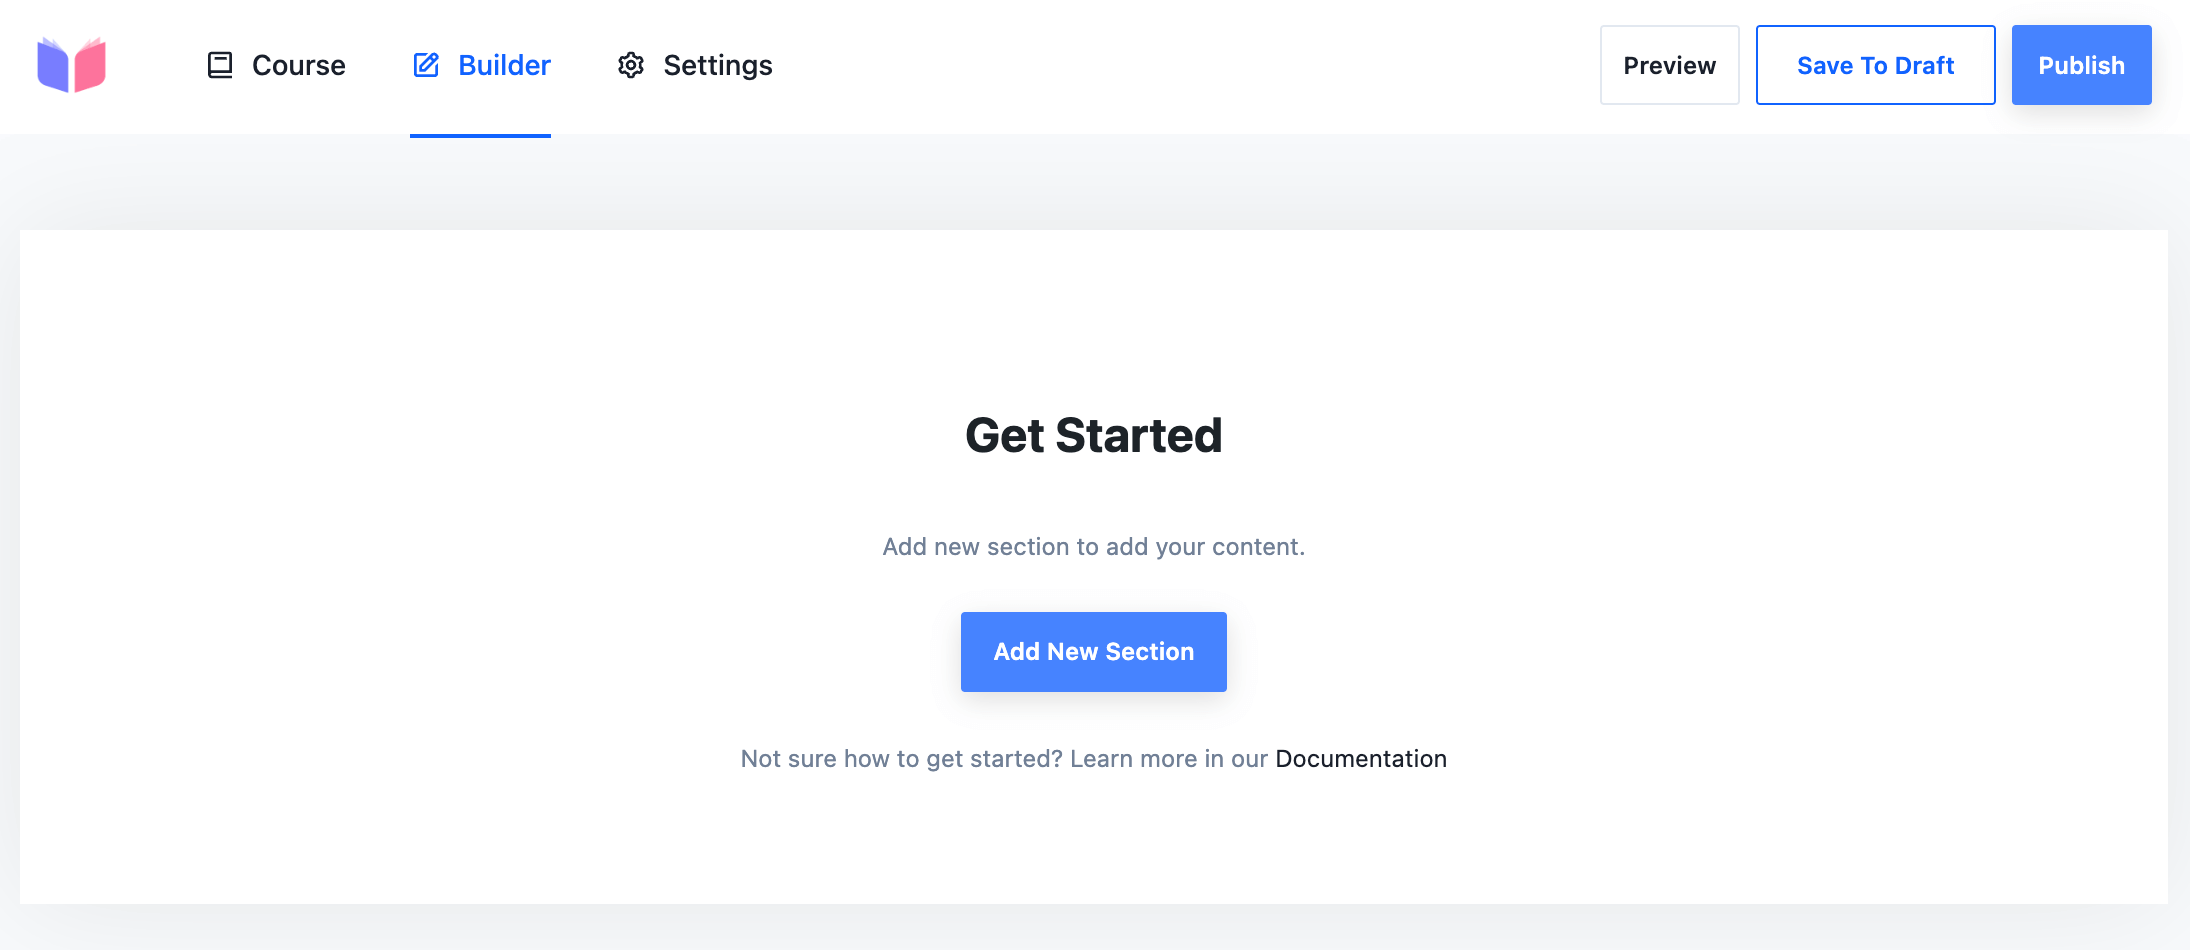
The general structure that Masteriyo suggests is to divide your courses into sections and then have individual lessons within each one.
Adding sections is easy, and you can realign them with drag and drop later.

Then, in each section, you can create any number of lessons. There are multiple lesson types to choose from:
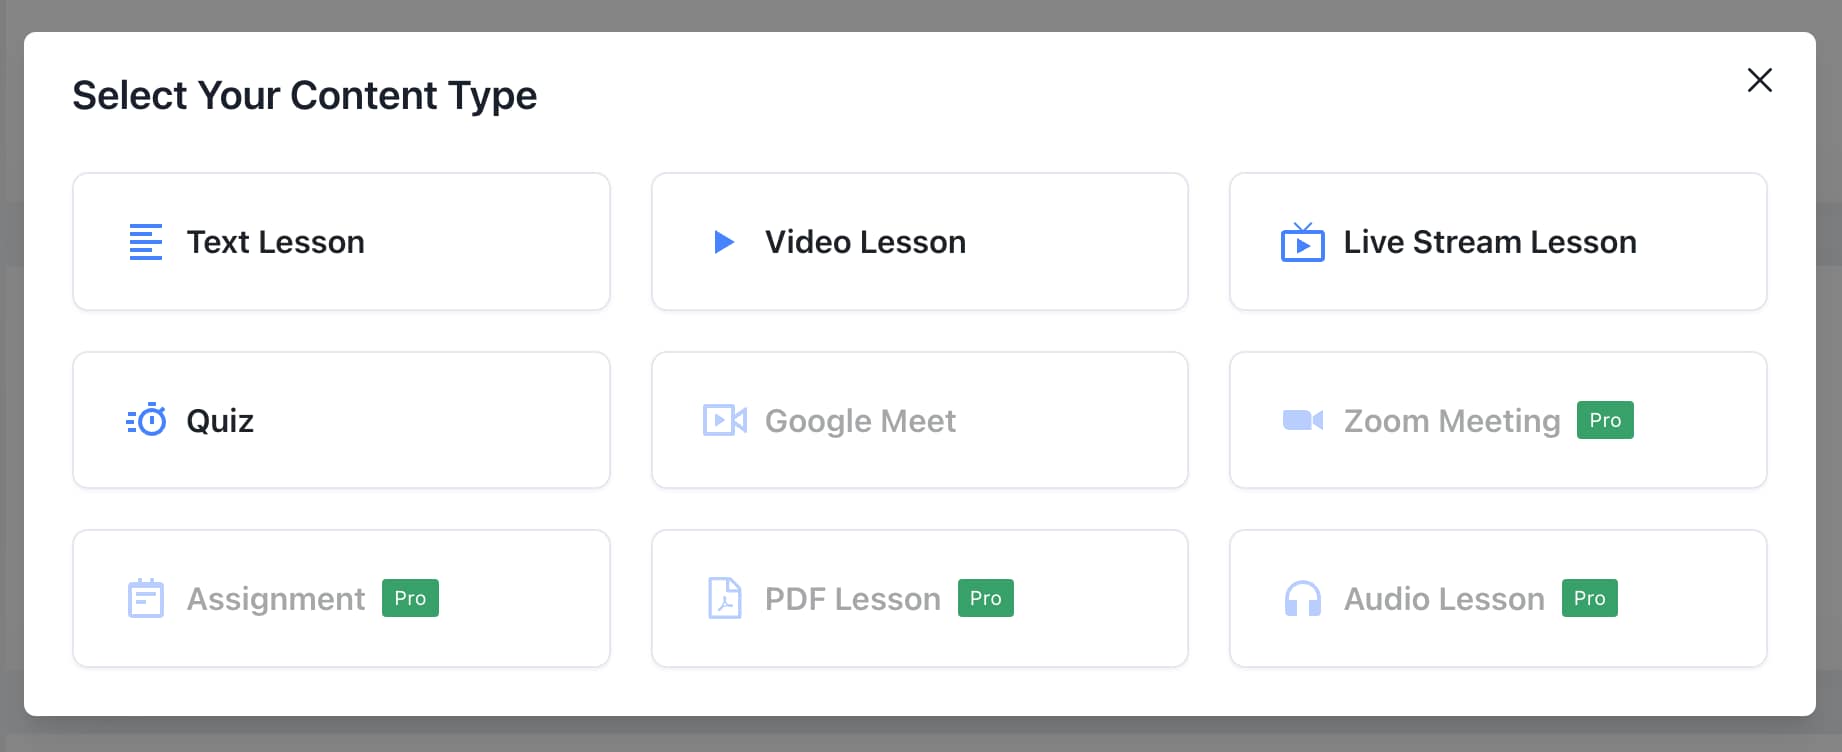
Many of these are available in the free version of the plugin, covering nearly anything you’d imagine as a possible lesson type. However, I’m not sure what the difference is between video and stream lessons – both require a video link. 🤷♂️
Anyway, let’s create a video lesson first. This is what the interface looks like:
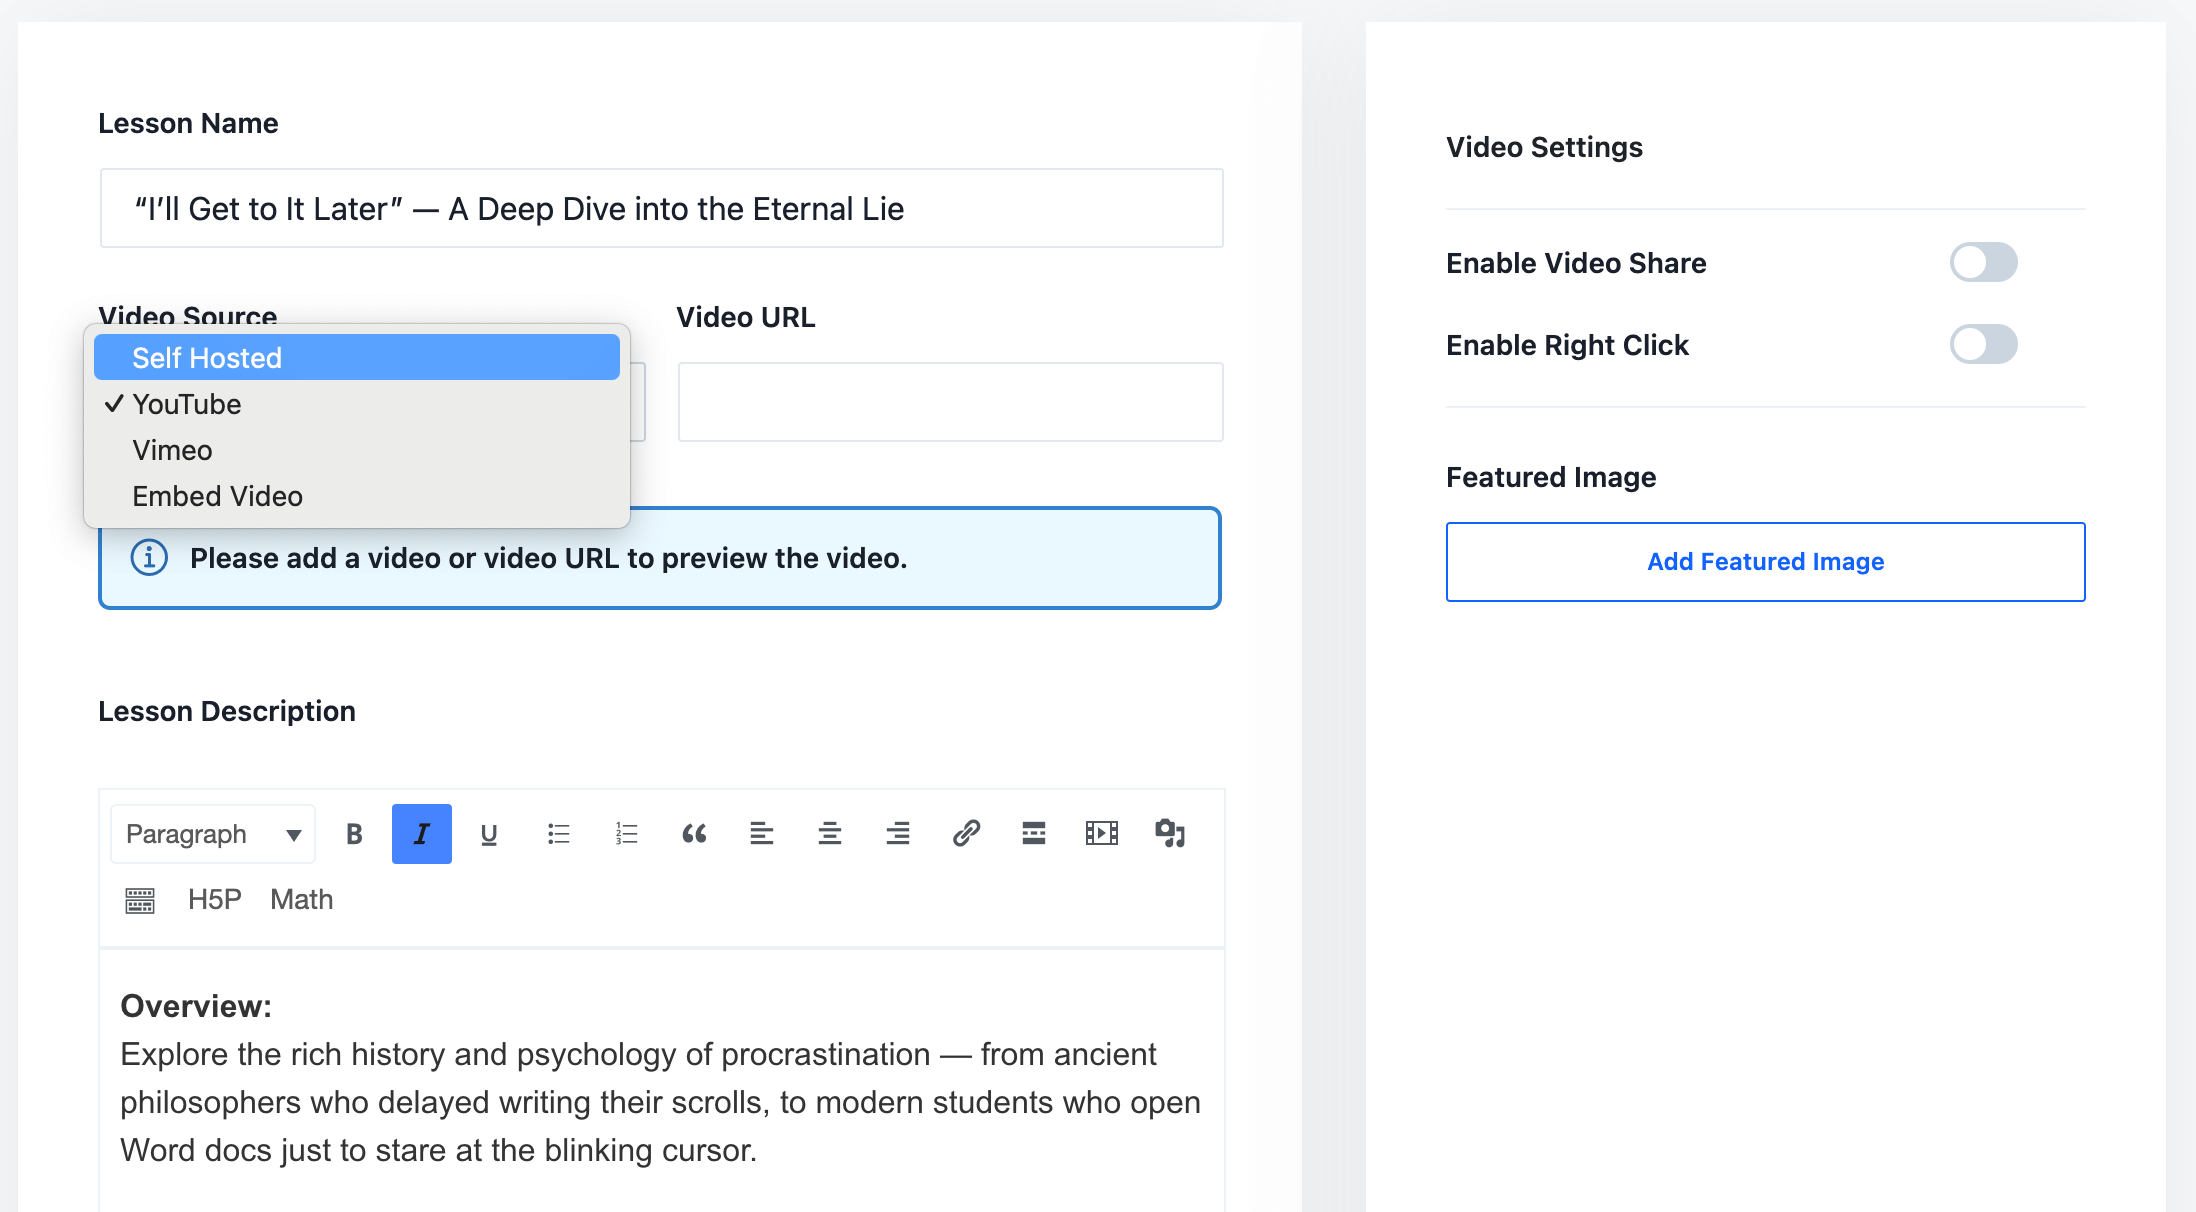
You can choose how you want to host the video and provide a basic description of what the lesson is about.
There are additional settings to control whether you want to allow students to right-click (and potentially save the video) or share it on social media.
Creating text lessons is simple enough that there’s not much to explain. You just name the lesson, enter your text, and publish it.
Of course, no self-respecting course can exist without some quizzes. Masteriyo allows you to create these as well. Quizzes are essentially another lesson type:

Each quiz has a name and any number of questions.

Masteriyo lets you create a question bank, enabling you to save quiz questions and reuse them in the future.

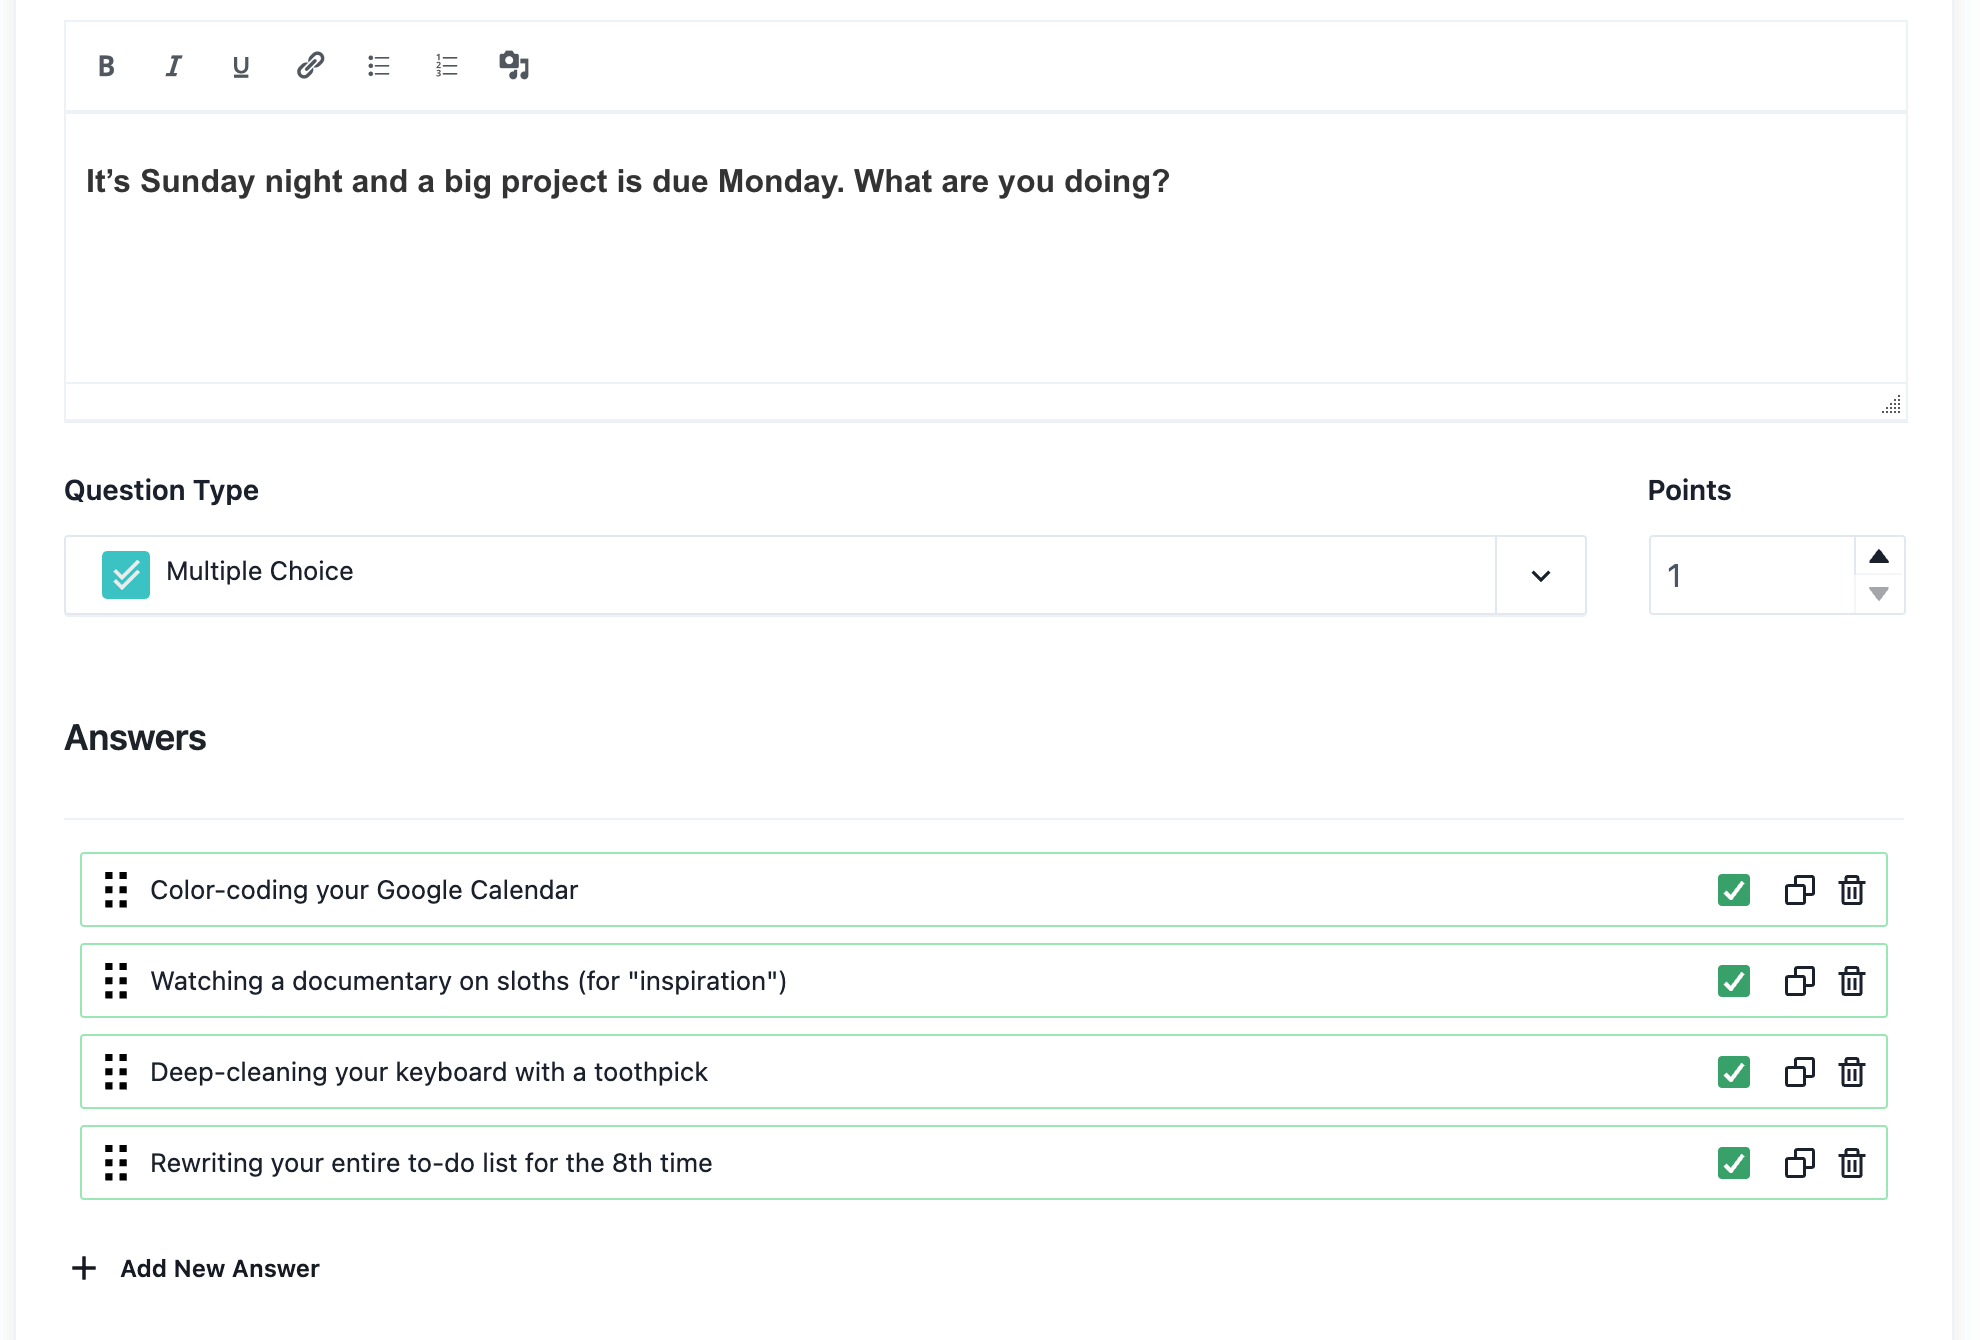
Your quizzes can feature standard single-choice questions, true/false, multiple choice, plus any of those more fancy quiz types that I mentioned before (if you’re on the paid version). You can assign points to each question and select the correct answer. In my case, that will be all of them:
Just a couple of minutes of work, and my course is starting to look good:
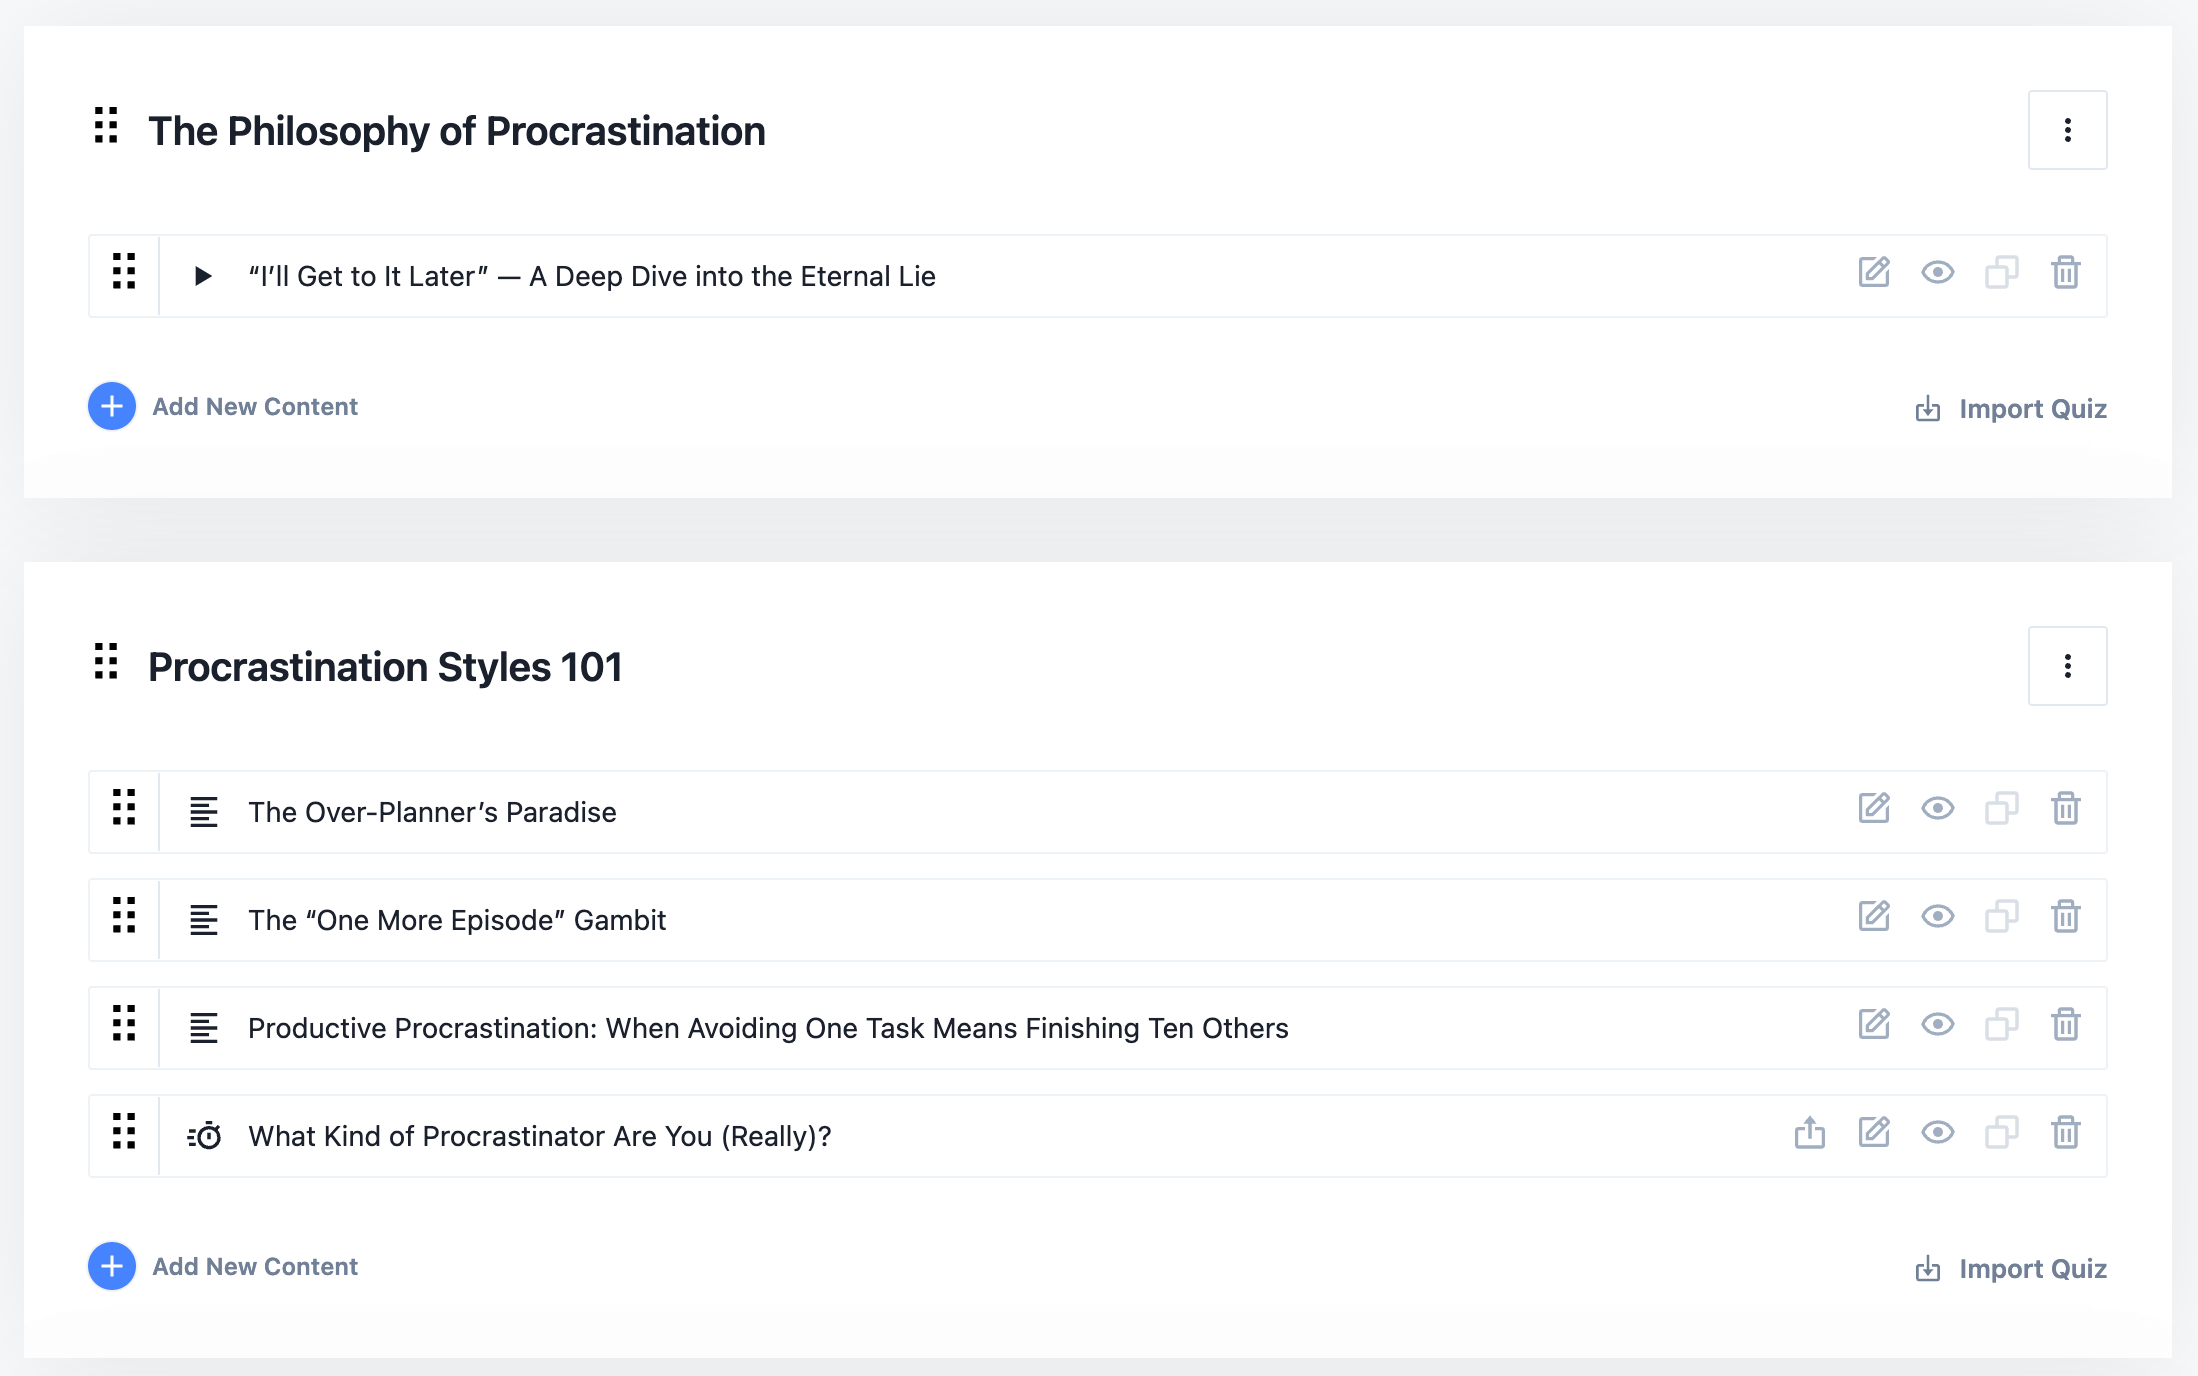
⚡ Pro tip: Overall, if you’re coming in with your course content already created, setting it up in Masteriyo should take under an hour.
When you’re done with the content, you can set the main settings for the course, such as difficulty rating, duration, the maximum number of students allowed, start and end dates, and, of course, the price of the course.
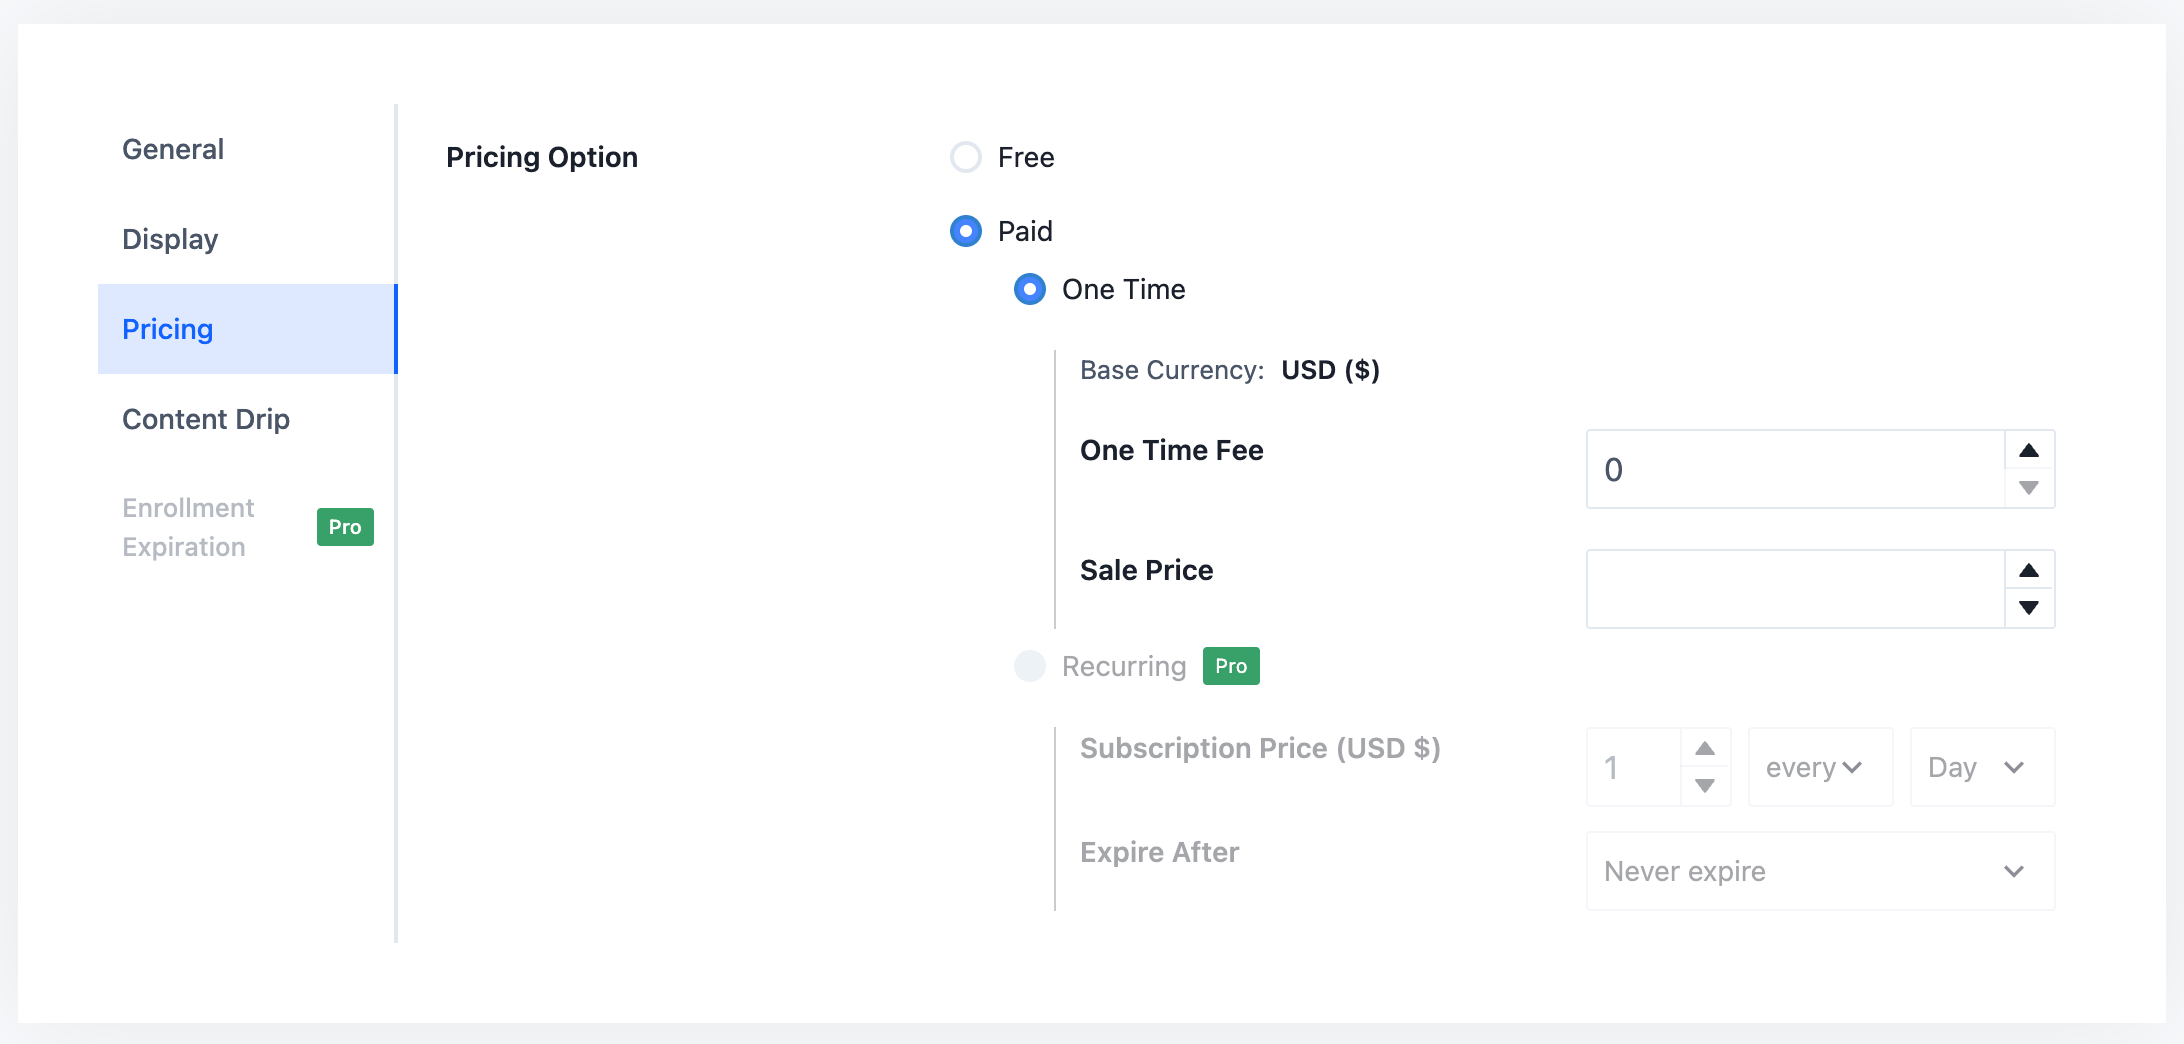
At this stage, you can publish your course and make it available to the public.
How Masteriyo works for students
When Masteriyo is installed, it adds several pages that transform your WordPress site into an elearning platform. This process is similar to how WooCommerce converts WordPress into an ecommerce store by creating pages like cart, single product pages, and product listings.
With Masteriyo, you receive essential pages such as the main Courses page, the Learn page (the main learning interface for users), the Account page (user account management), and the Checkout page (for purchasing course access).
When a user visits the Courses page, they will see a list of all your courses. For instance, mine looks like this:
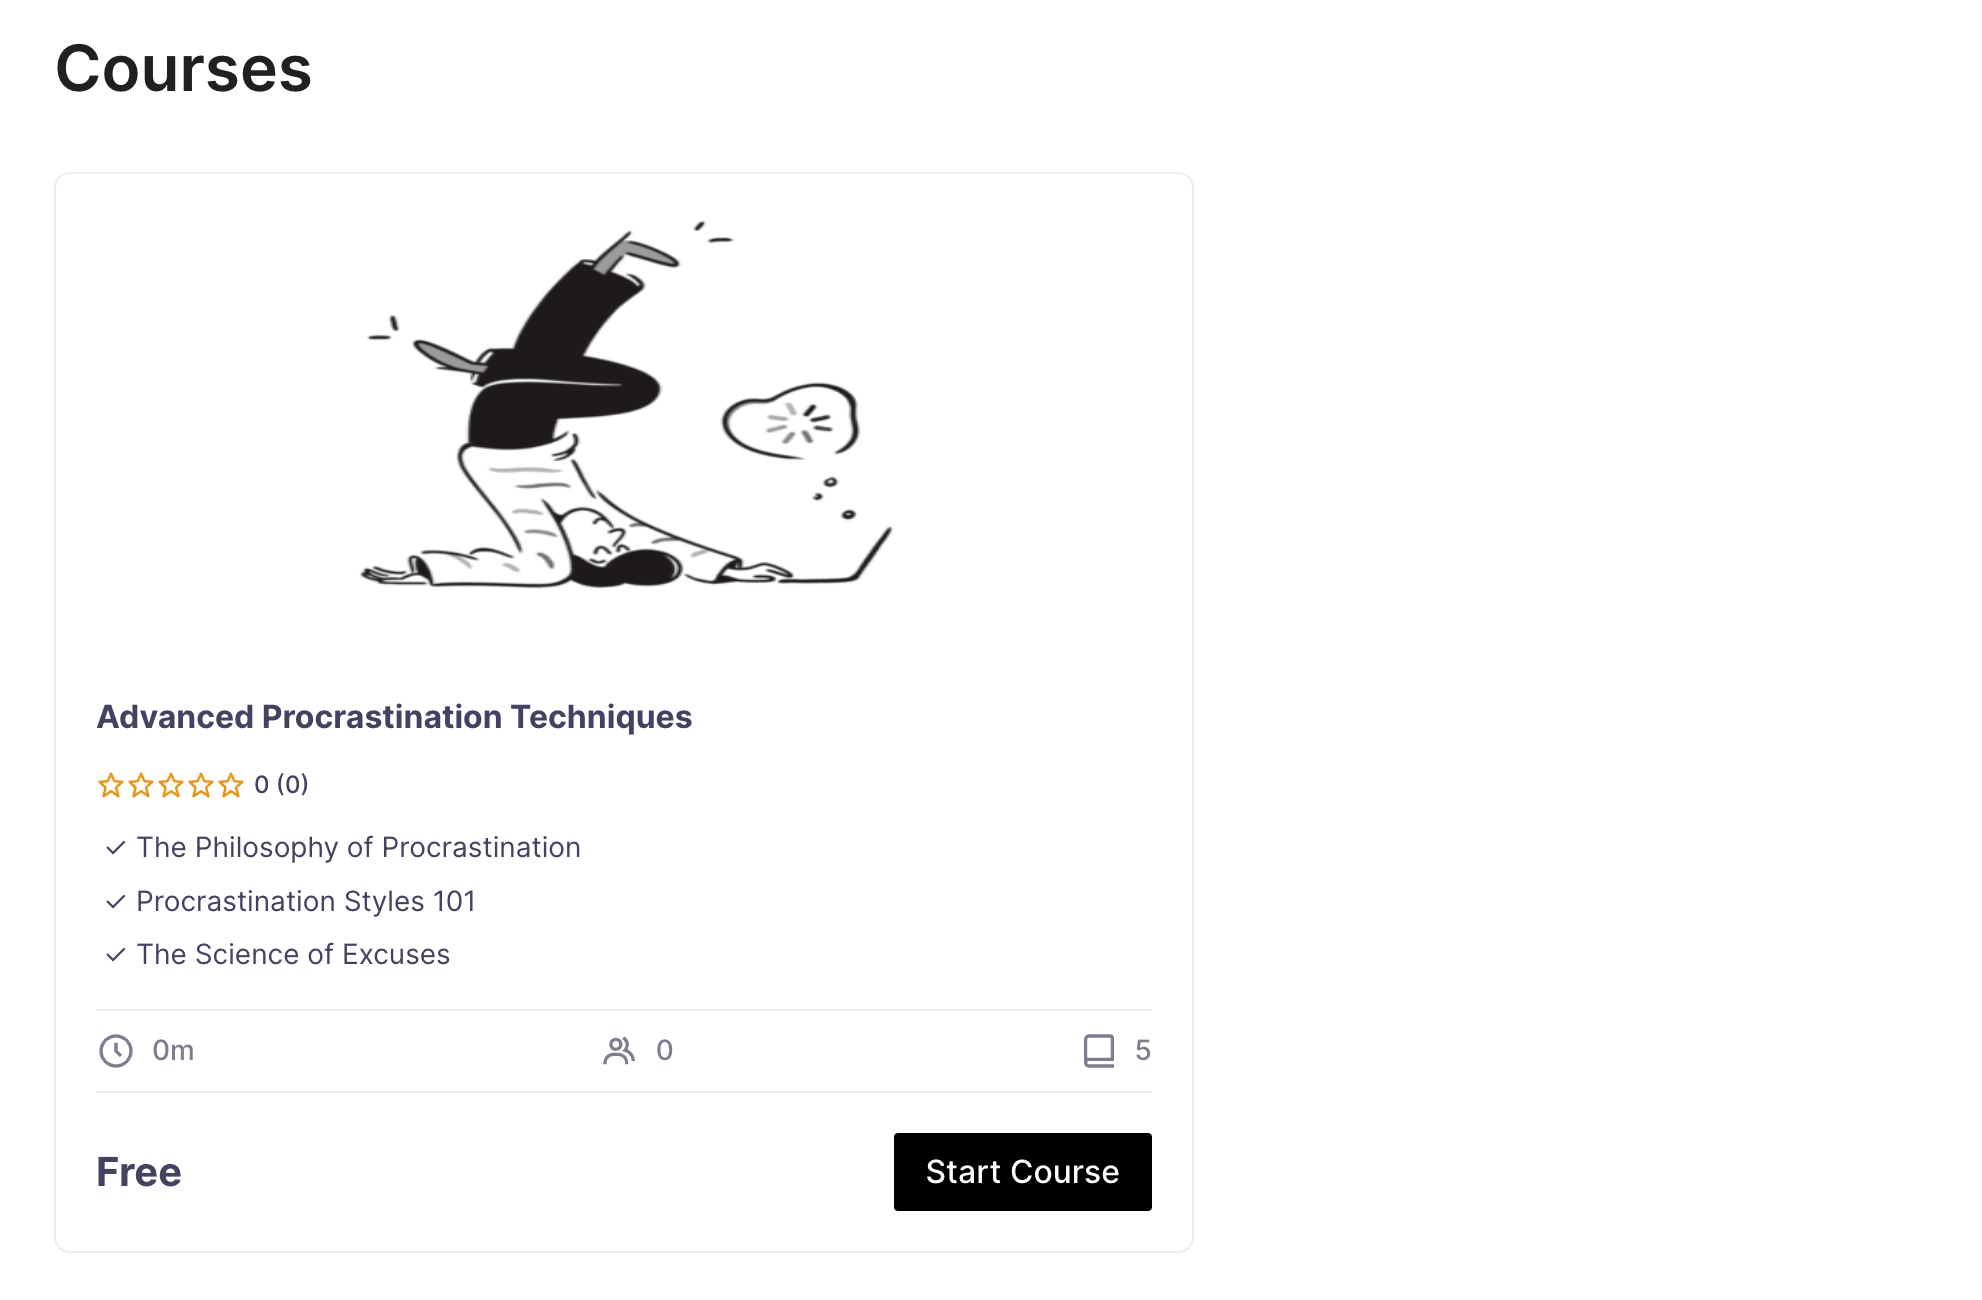
Users can then view a course in detail and decide whether to enroll:
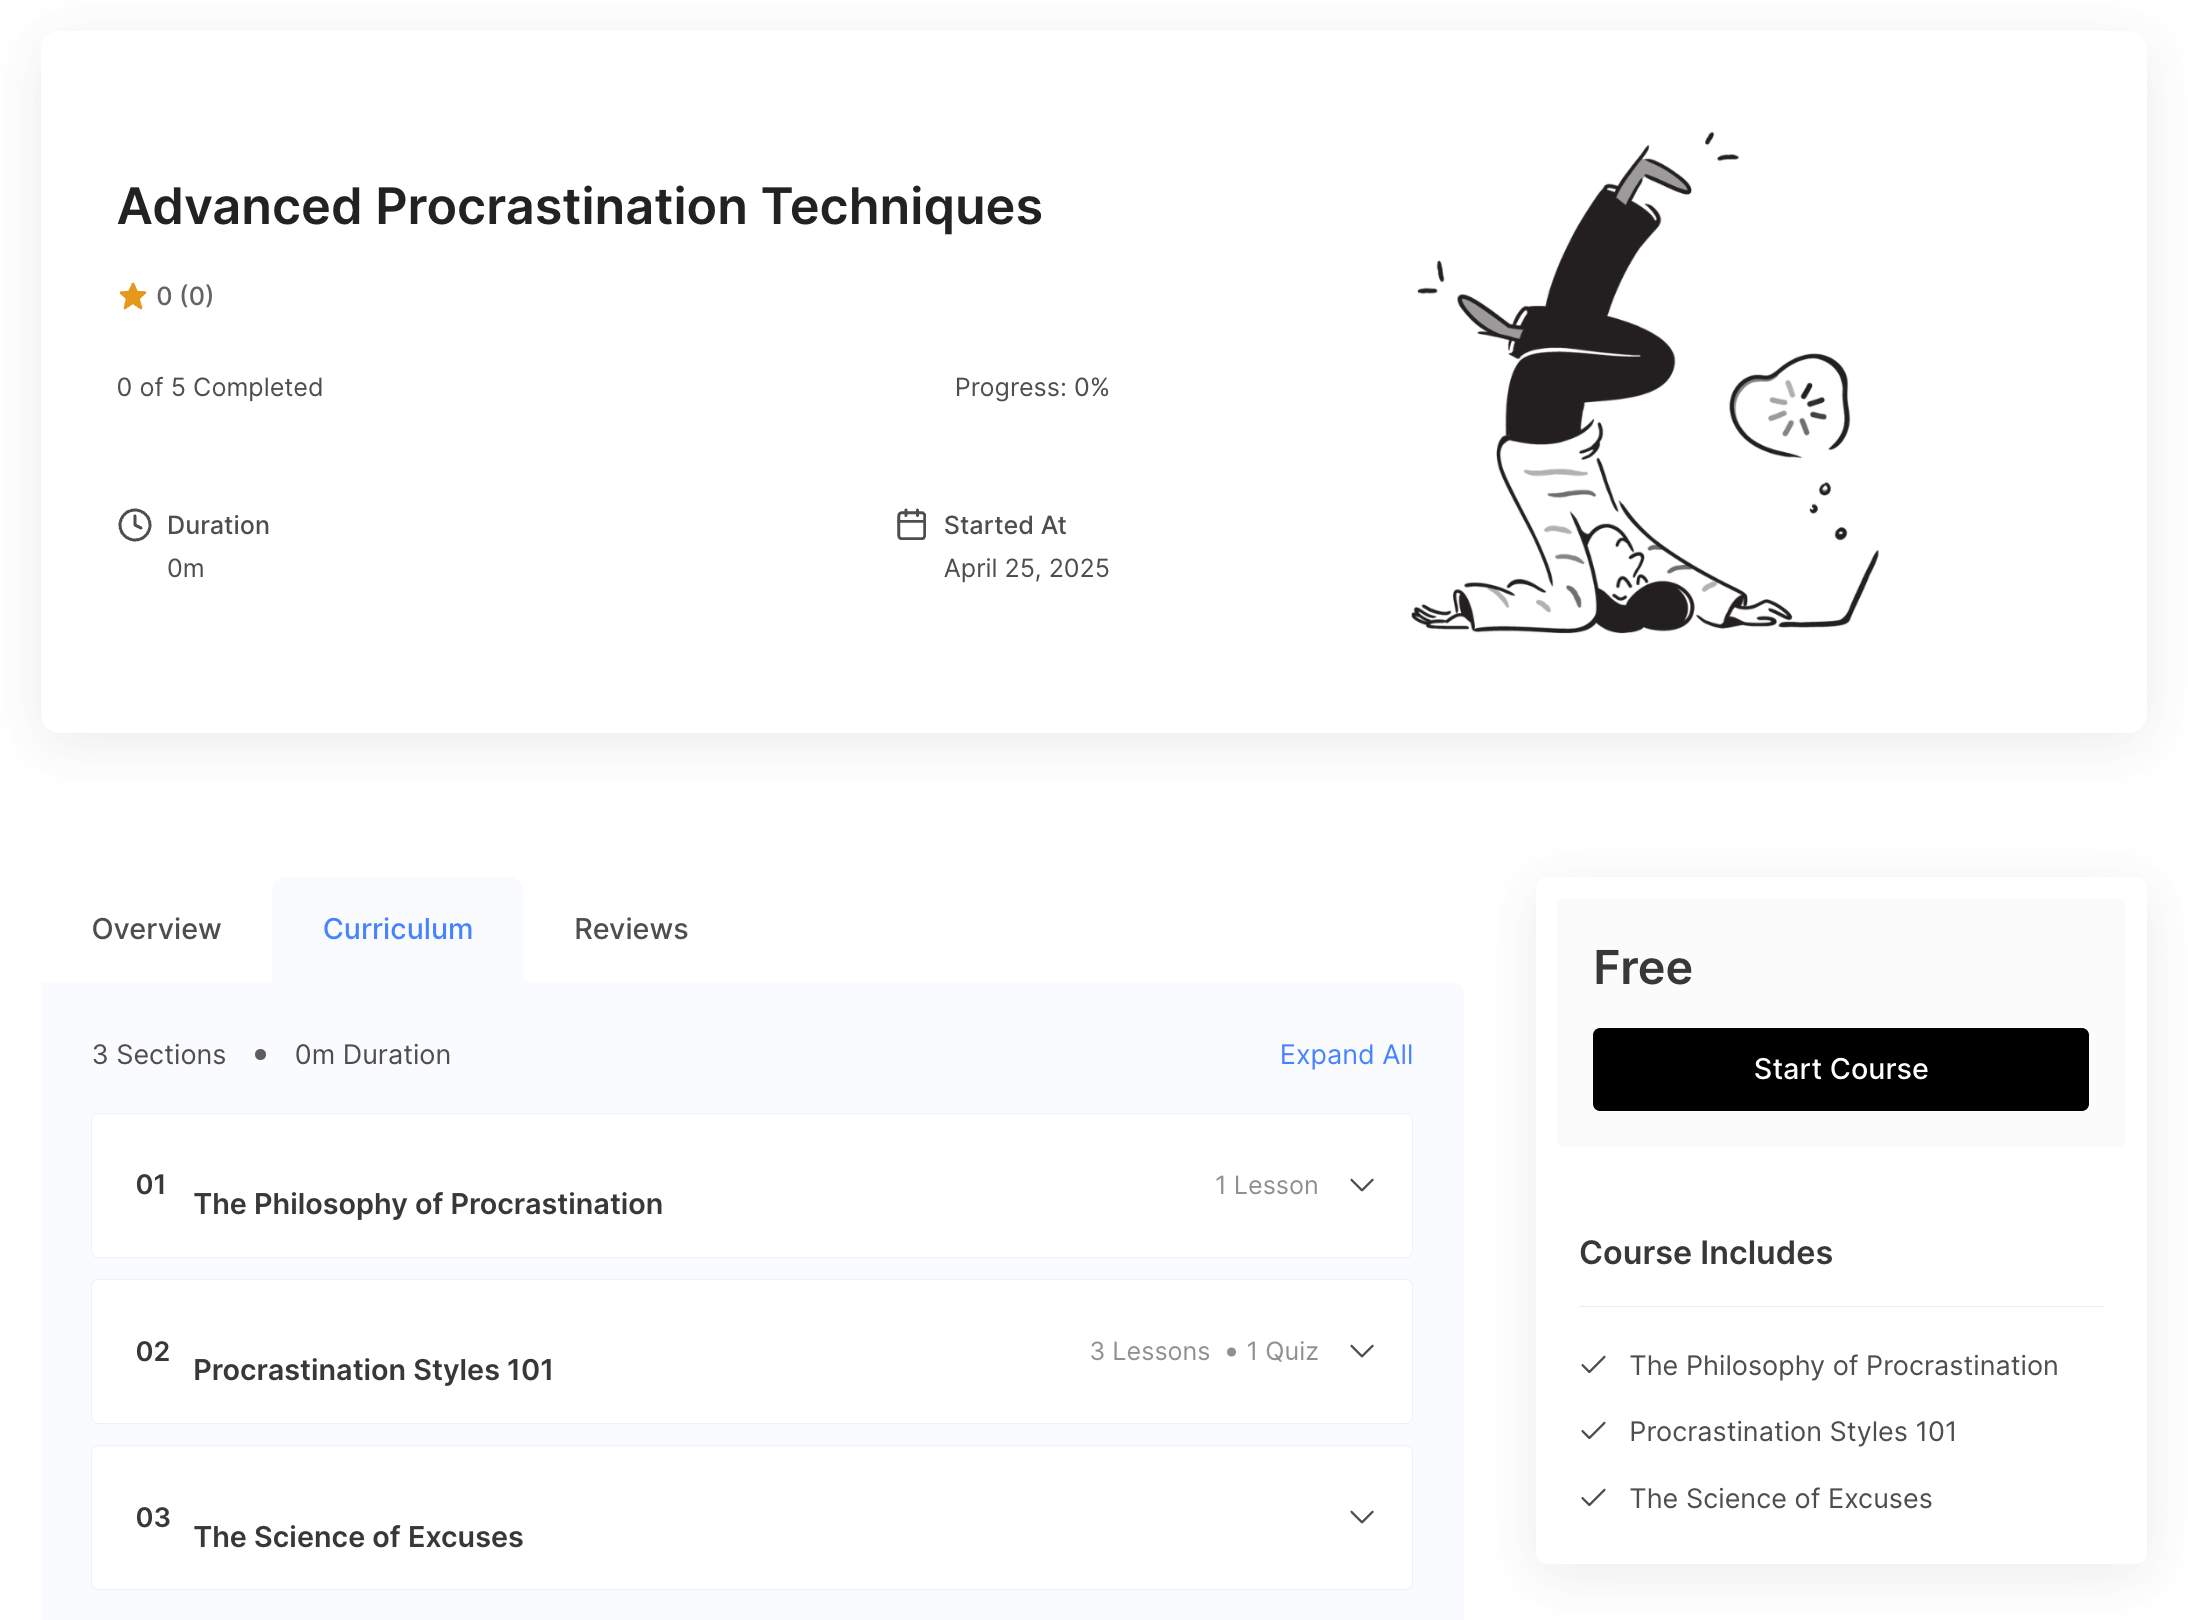
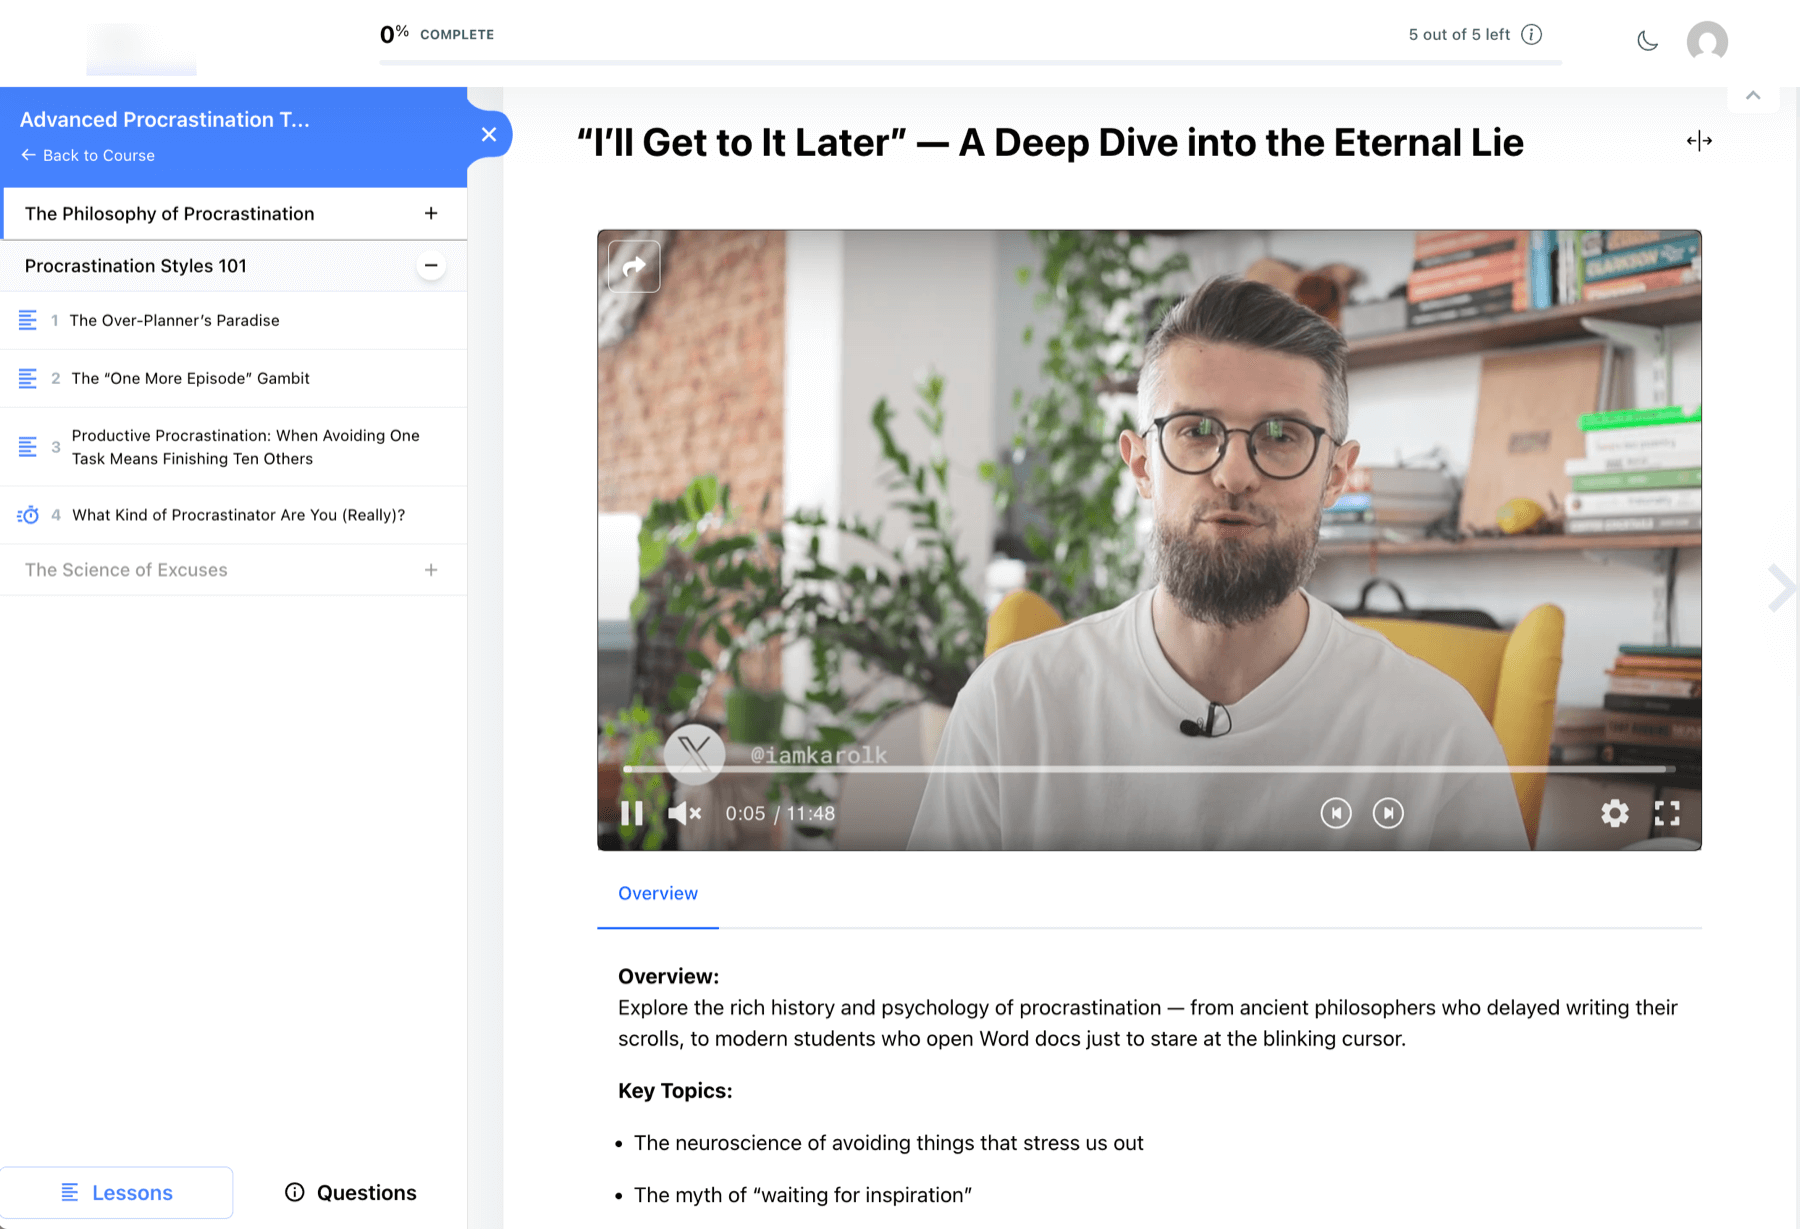
Once they start a course, they are taken to a distraction-free section where only course content is visible, eliminating other elements of your website design:

The course content is front and center, with the lessons menu in the left sidebar. After completing a lesson, users can click on Mark as Complete to proceed to the next lesson.
The sidebar can be collapsed to allow users to focus solely on the main content.
Managing your courses
Back to the admin’s perspective.
In addition to creating courses, it’s essential to monitor statistics, track enrollment numbers, manage orders (for paid courses), and evaluate student progress and assignments, among other tasks.
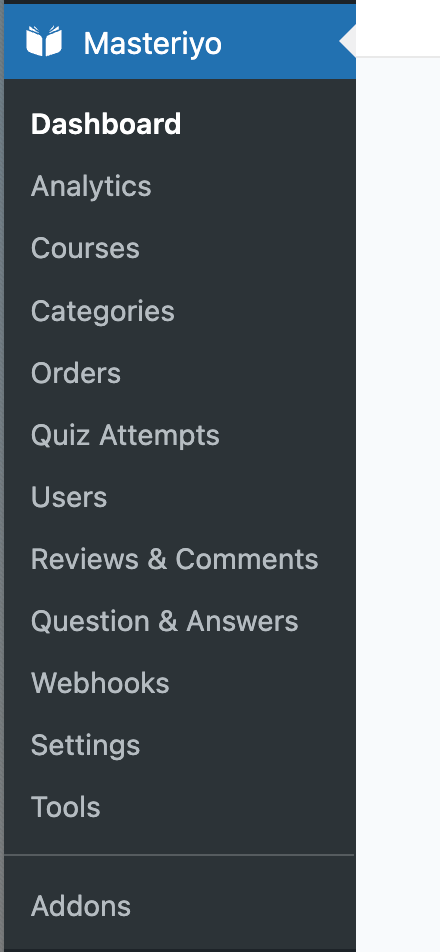
Masteriyo enables you to achieve all of this. All key options are located in the WordPress sidebar, with each sub-section being clear and easy to follow.
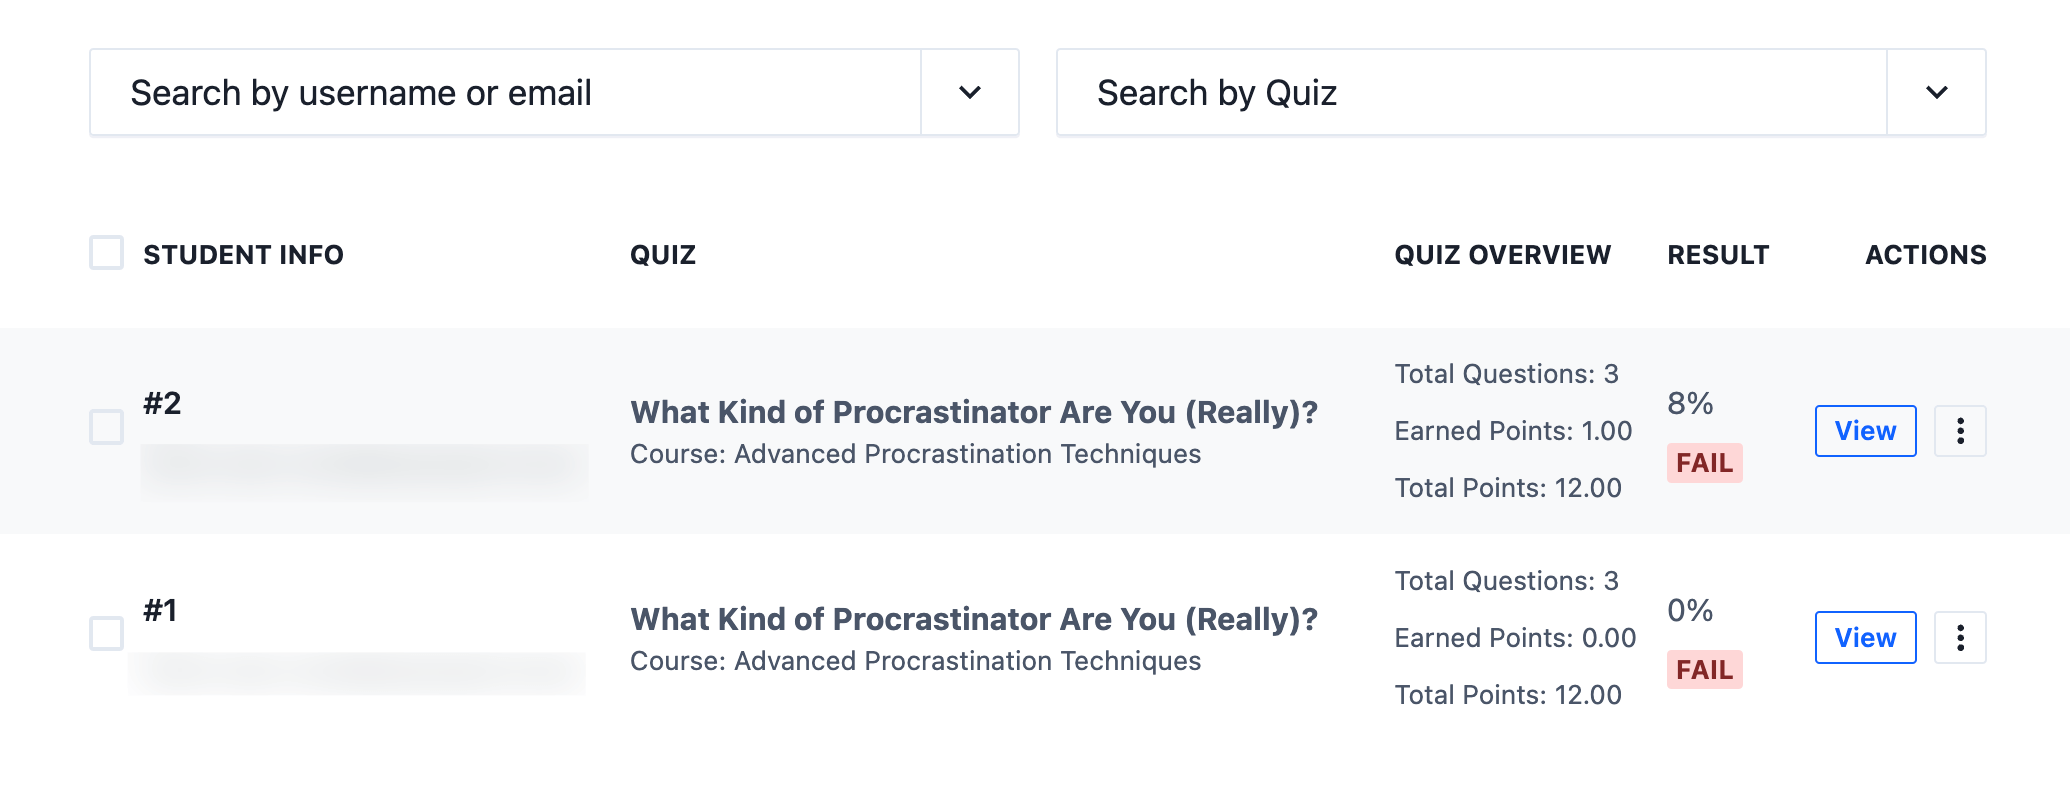
For instance, if you navigate to Quiz Attempts, you’ll see every attempt made by your students to complete the quizzes you created. This allows you to review their performance and identify any potential issues in your course design.
Masteriyo also provides a variety of add-ons to further enhance your courses. I appreciate this capability, to be honest. You can activate features such as downloading course materials, Google Meet integration, a certificate builder, “coming soon” notifications for new courses, and much more.
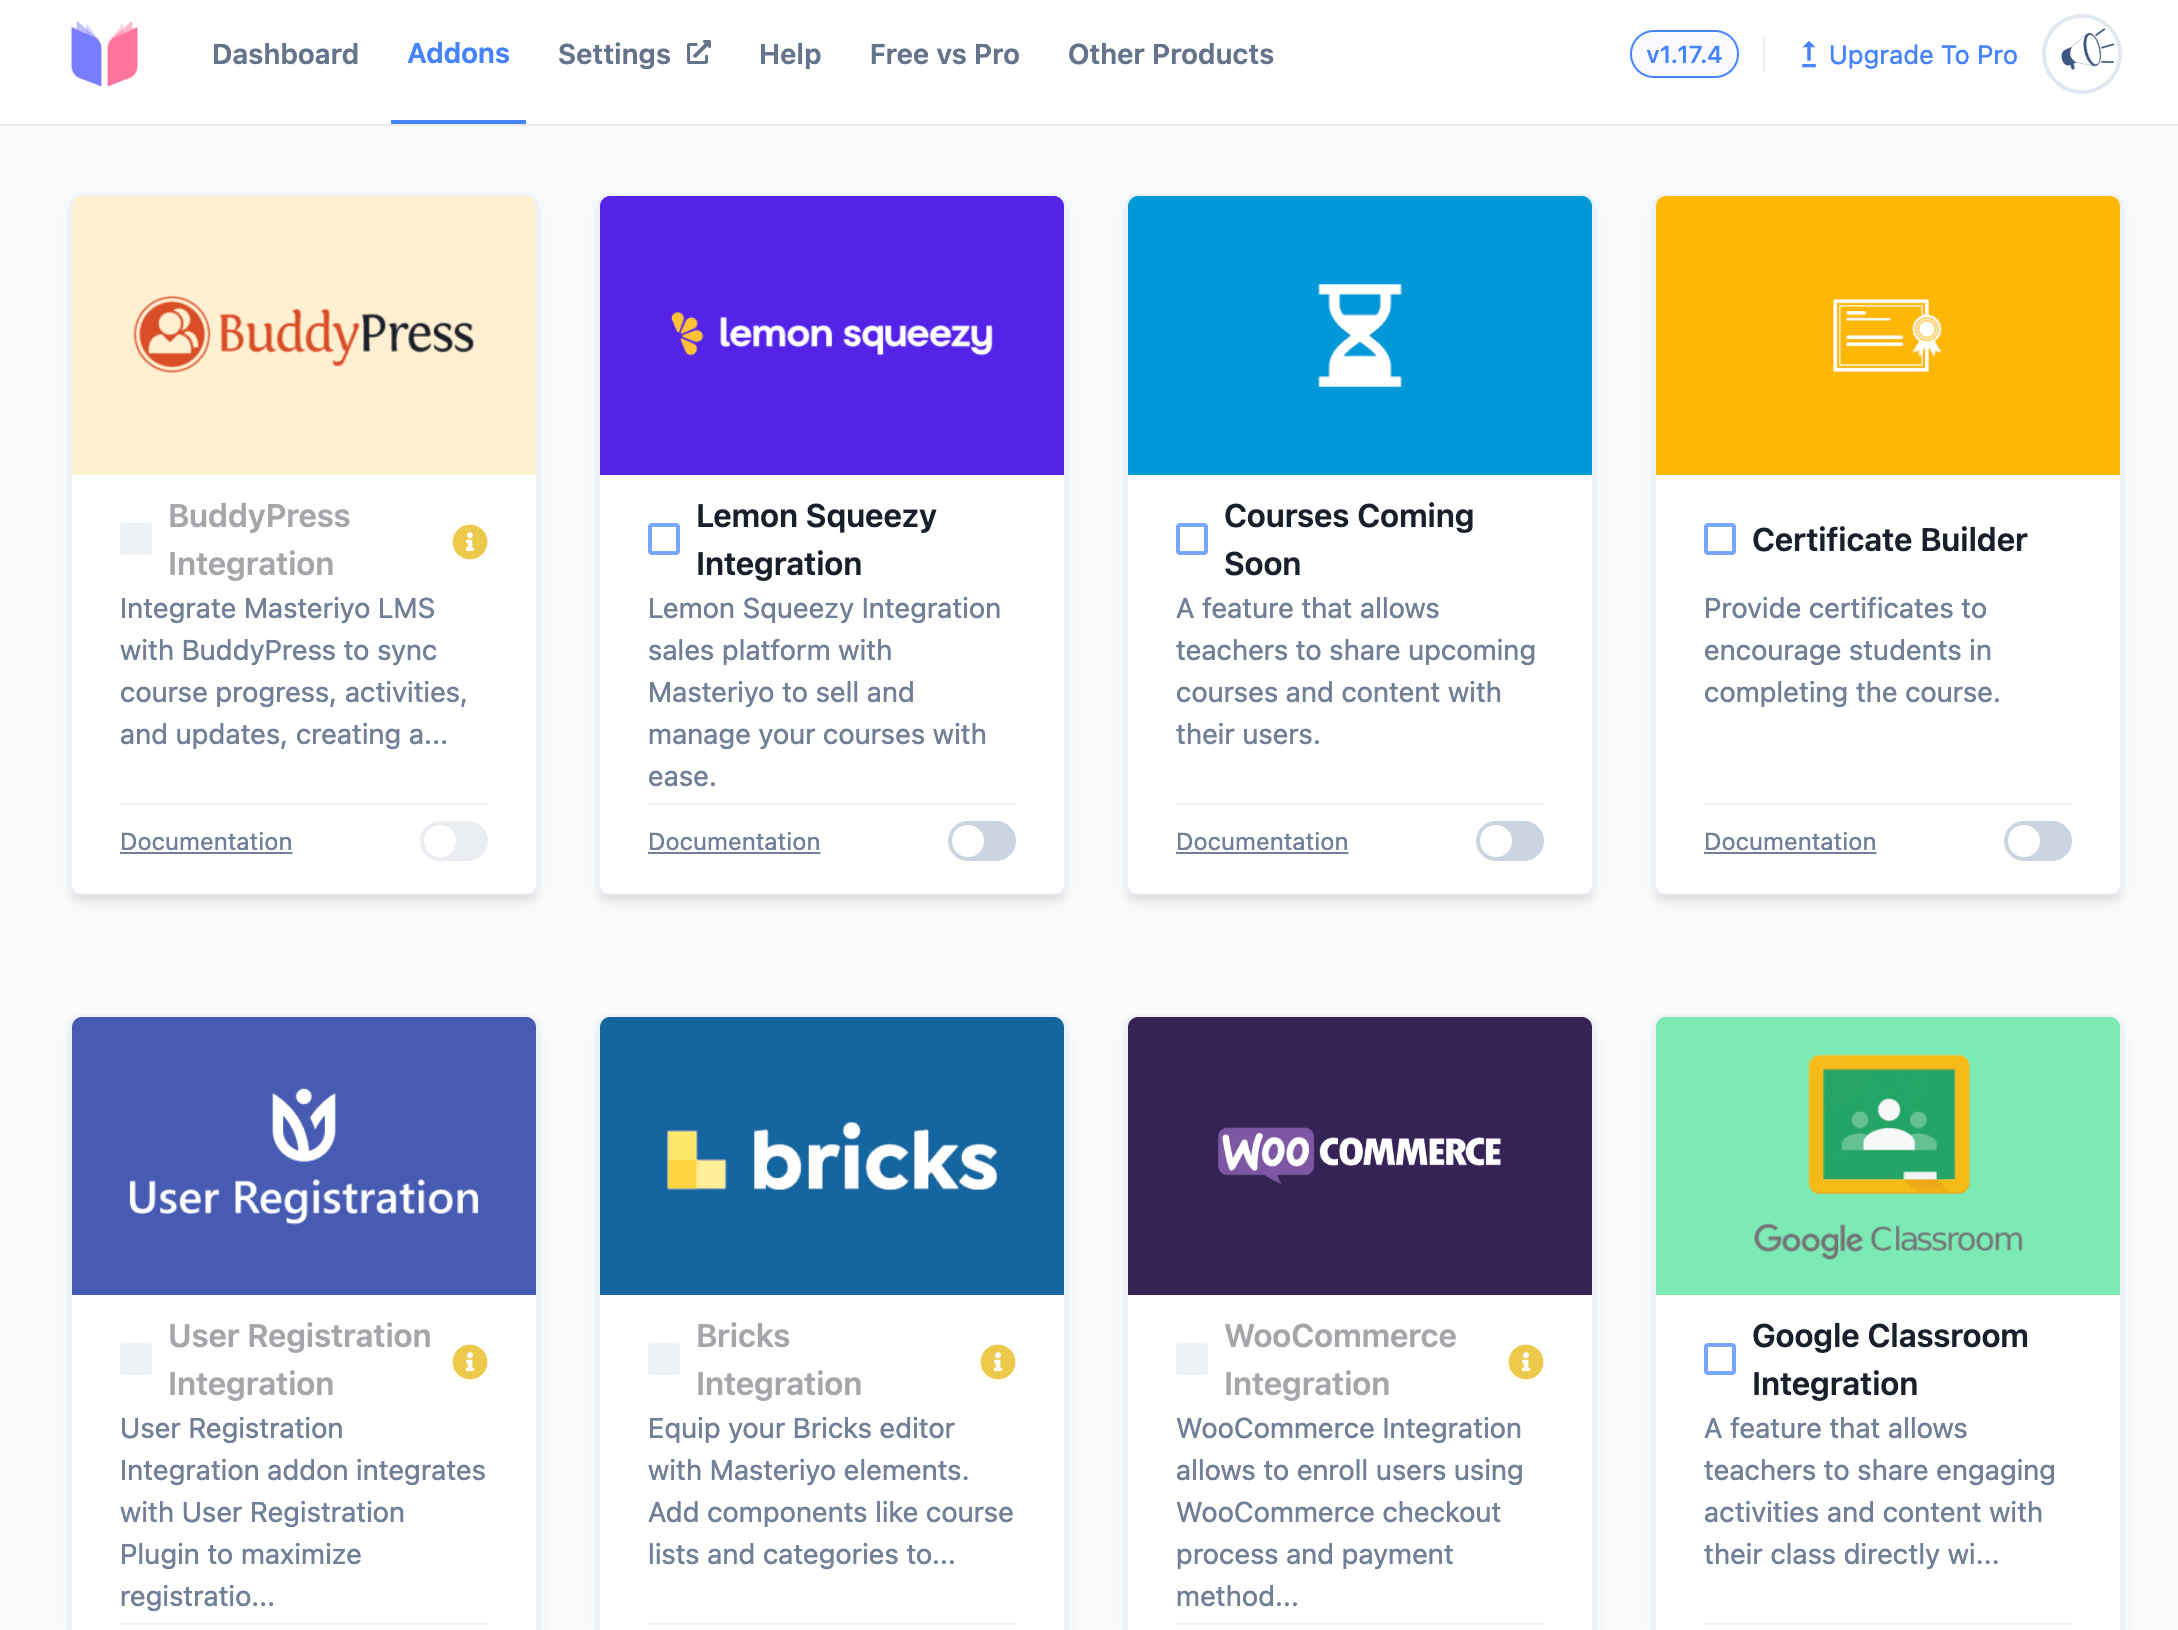
Moreover, Masteriyo offers integration with email marketing tools, other shopping cart solutions (which is beneficial if WooCommerce is already installed on your site), CRM tools, and more.
Interestingly, Masteriyo works with all popular page builders: Elementor, Beaver Builder, Divi, Oxygen, and Bricks. This means you can design your pages with your preferred builder and then add Masteriyo elements directly to them.
Additionally, there are shortcodes available for use throughout the site, allowing you to display courses, instructors, and other elements in non-standard locations. You can also enable student registration through a custom shortcode anywhere on your site.
I could continue, honestly. There’s an abundance of features in Masteriyo, and you’re likely to discover new and intriguing features daily. Plus, with the ability to expand the platform using add-ons, the possibilities are essentially limitless.
Masteriyo pricing
As with most WordPress-based solutions today, there’s a free plan and a paid plan.
The best part about the free version is that none of the key features are restricted, and you can even sell paid courses using the free Masteriyo version.
This is a pleasant surprise compared to the standard practice in the market where you only get a taste of a solution and then have to pay to fully use it.
With Masteriyo, you can truly build a course and launch it to the public for free. 👍
Regarding the paid plan, there are two versions: a single-site license and a multi-site license.
Whether you need a paid license is, of course, up to you. Some features are locked out of the free version, mainly in the realm of additional payment options and integrations.
Here’s the full pricing page so you can make your own decision. The paid plans start at $74.50 for the first year, then $149 after that.
Pros and cons
Let me be honest…there really is a lot to like here, so let’s start at the beginning:
Pros
The biggest pro of them all: the basic version of Masteriyo is free. Referring to it as “the basic version” is an understatement. There is nothing basic about it, honestly. It truly is a fully-featured LMS solution that you can use for an actual online course that you’ll be offering to real customers for real money. You won’t be locked out at the last second when you’re just about to publish your course.
You can set up unlimited courses and enroll unlimited students.
Masteriyo is really easy to get started with. All the interfaces are clear, the settings work without a glitch, and the onboarding wizard ensures you don’t miss any crucial setting.
The distraction-free interface for students makes it really enjoyable. You really don’t want to be bombarded with unnecessary interface elements when you’re trying to focus on learning.
Masteriyo integrates with popular page builders. This means that you can build your pages in your favorite tool and then integrate Masteriyo elements with them.
It offers a ton of payment options if you’re going to be selling your courses.
Advanced controls for checking student progress, looking at your course stats, and reviewing quizzes and assignments are available.
Speaking of quizzes, as I mentioned multiple times in this Masteriyo review, there are some cool options when building those. There are multiple types of questions to choose from, ranging from simple yes/no ones to much more creative ones.
Cons
You can assign a featured image to your course. However, I can’t find any way at all to make those images look correct. I don’t know whose idea it was that resizing images randomly and distorting their ratios would be fine. It makes it basically impossible to set an image that would look good, impacting your course’s perceived professionalism.
You can’t build your lesson content with WordPress’ block editor. Although there is a setting in the panel as to whether you want to use classic or block as the default editor, that setting doesn’t actually have any effect, so you’re stuck with the classic editor.
You have to be careful to make your quizzes actually passable. The plugin doesn’t check if your math is correct when setting the number of points required to pass a quiz. For instance, you can set your quiz to require 10 points to pass, even though the total available points in the quiz might be less.
Final verdict: should you give Masteriyo a try?
Almost certainly yes. If you’re in the market for a WordPress LMS solution, there’s really no downside to testing Masteriyo.
The main version is free and fully functional; it won’t shut you off at the last minute, forcing you to upgrade to a paid plan.
All the standard course and lesson types are supported, and the interface (both for students and admins) is very intuitive.
If you ever need to integrate the platform with other assets you might have in your business, like email marketing, CRM, or others, you can do that with add-ons.
In the end, I’m truly impressed by how feature-packed Masteriyo is. It really does take your WordPress installation and transforms it into an LMS solution that has all the features you might ever need.
So…what’s it going to be? Are you already halfway through building your next online course with Masteriyo? Let us know in the comments what you liked and didn’t like about this solution.
…
Don’t forget to join our crash course on speeding up your WordPress site. Learn more below:

